Quote:
Originally Posted by SONICobra

no what do you mean by that?
thing im going to try next is attaching wires covered in clay to trouble areas to create vents. I kept getting bubbles on the chin and bottom of the ears for example
|
Pre-pouring your mold is absolutely essential if you're not using an air compression chamber.
Pre-pouring is something I take into consideration before I even make the mold, in terms of the seam, air channels ect.
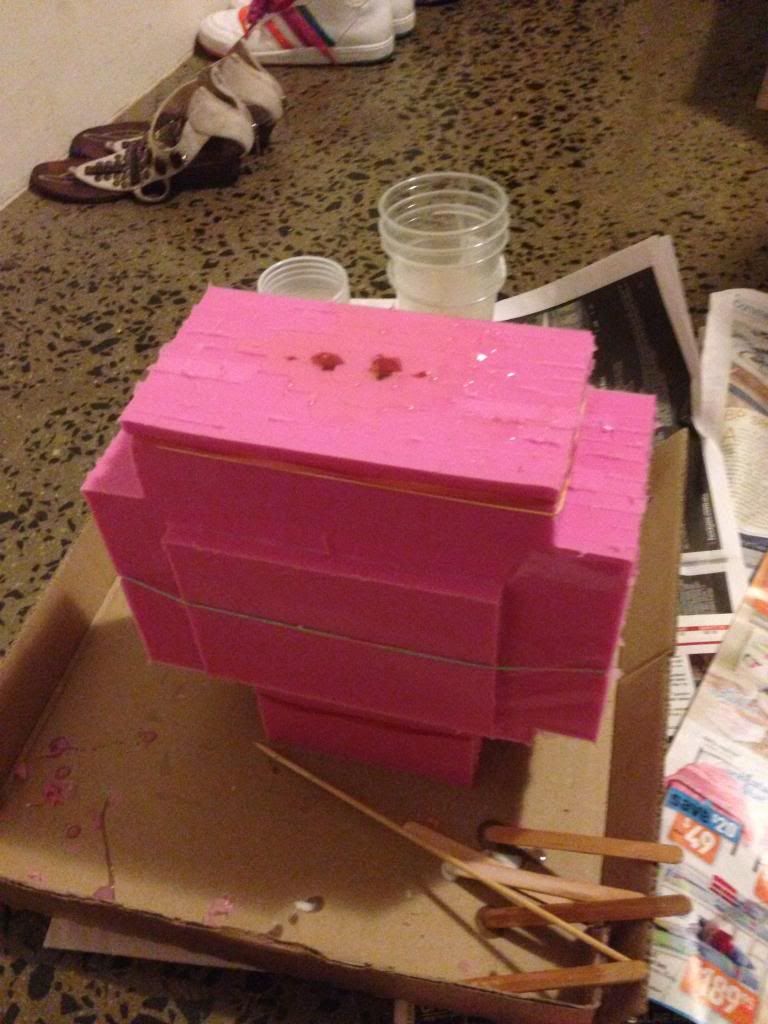
So basically once your mold is finished separate the two pieces, example picture 1
Then pour the trouble areas of each side of the mold, use a skewer or toothpick or something similar to that to release any air bubbles while the resin is still clear.
Then depending on the Cure time of your resin, when it starts to turn white and gels to the point when it won't run, close the mold.
example picture 2
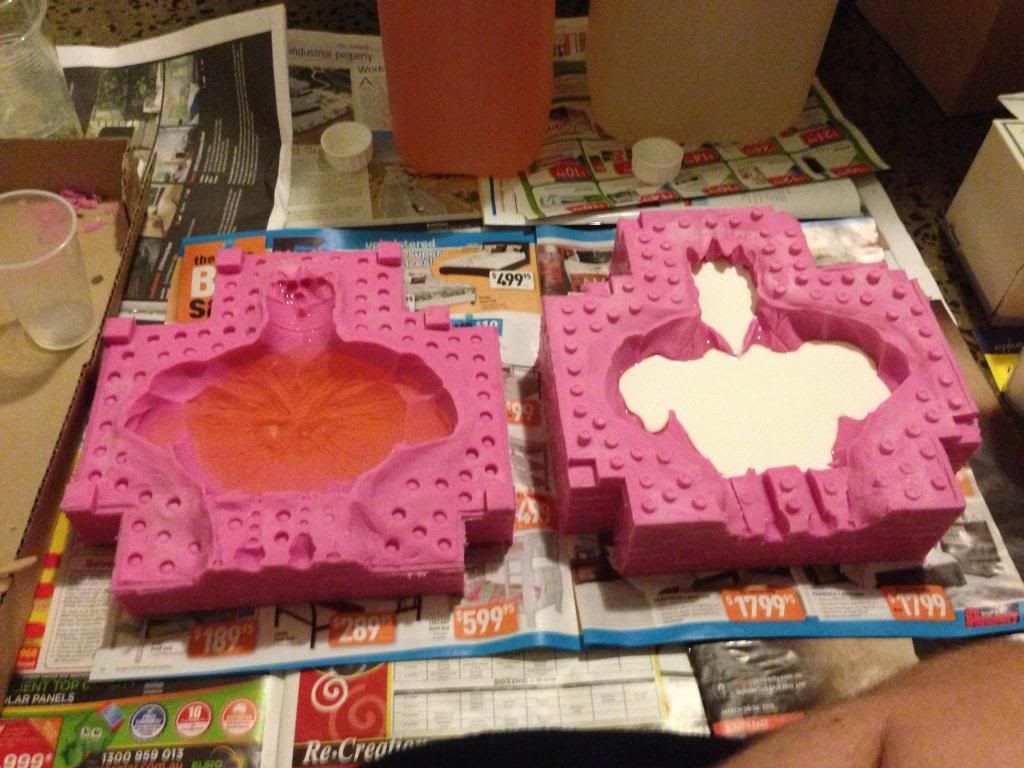
Once the mold is closed you should be left with a Chanel with no nooks and crannies for a bubbles too hide.
But note that you should have two channels one to pour the resin into and one to let the air escape.
Example picture 3
I learnt all this stuff the Hard way by trial and Error, I hope I can save you the time.
Pic 1
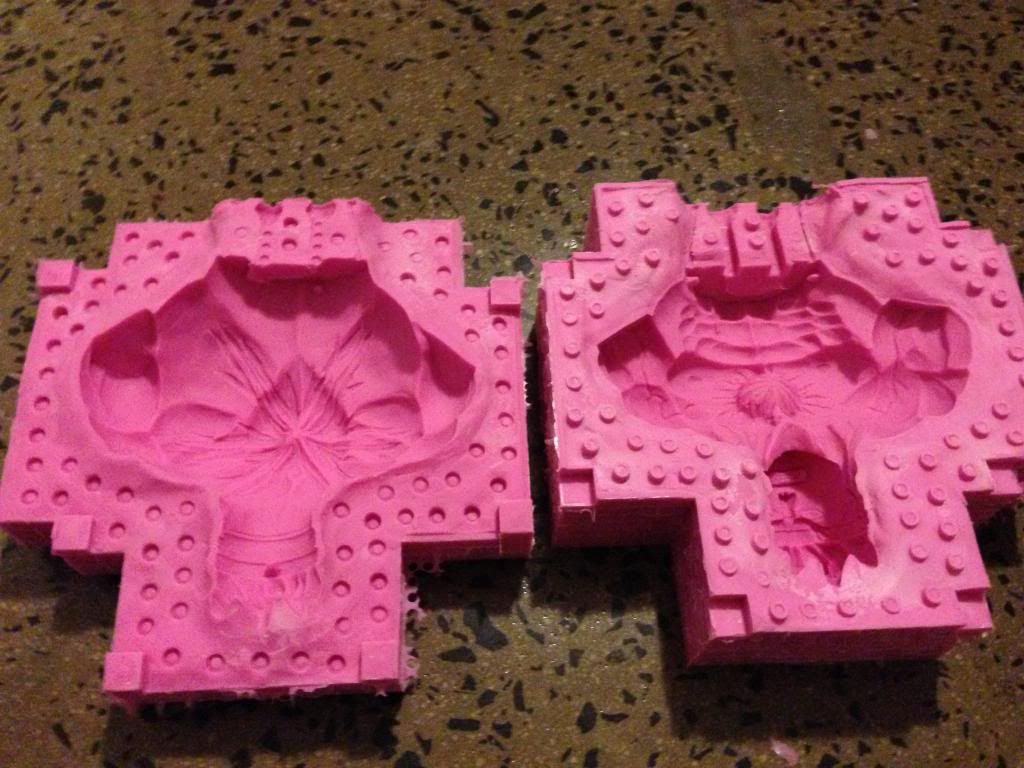
Pic 2
Pic 3