Statue Forum 


Go Back   Statue Forum > Statue Talk - Others > Hot Toys

Reply
 
Thread Tools
Old 09-13-2013, 11:58 PM   #1
keith
Fantastic Four
 
keith's Avatar
 
Join Date: Oct 2006
Posts: 84
ED-209 from Hot Toys (My Rebuild)

Last weekend i finished my rebuild of the Hot Toys ED-209. I started this back in 2009, but run out of steam with it and put it away until around a month ago.
Anyway, i thought i would post all the photos i have of the rebuild, as i'm sure some of you will find it interesting.

Here are the head and arm parts:


The leg parts. The leg on the left has yet to be fully taken apart:


The pelvis:


Keith.
keith is offline   Reply With Quote
Old 09-13-2013, 11:59 PM   #2
keith
Fantastic Four
 
keith's Avatar
 
Join Date: Oct 2006
Posts: 84
Gun parts ready to mold:


I made the size of the gun mounts accurate, so there was some filling in to do using plastic sheet of the correct thickness on the pod/arm:


This part i've made will replace the rubber where the arm attaches to the head:

Its ready to mold and will be cast in resin. The same idea will be used for the rubber on the hips. The articulation won't be as much as before, but i only want him stood up straight.

I don't like to permanently glue things together if there is another way around it. I made these things below and fitted them inside the head:

The dark grey caps have little magnets inside.

I fitted magnets inside the round things that attach to the sides of the head:


Here they are fitted:

Its good because if you move one of the round things down or off to the side a bit, as soon as you let go, it shoots right back into the perfect position again on it own.

Keith.
keith is offline   Reply With Quote
Old 09-14-2013, 12:00 AM   #3
keith
Fantastic Four
 
keith's Avatar
 
Join Date: Oct 2006
Posts: 84
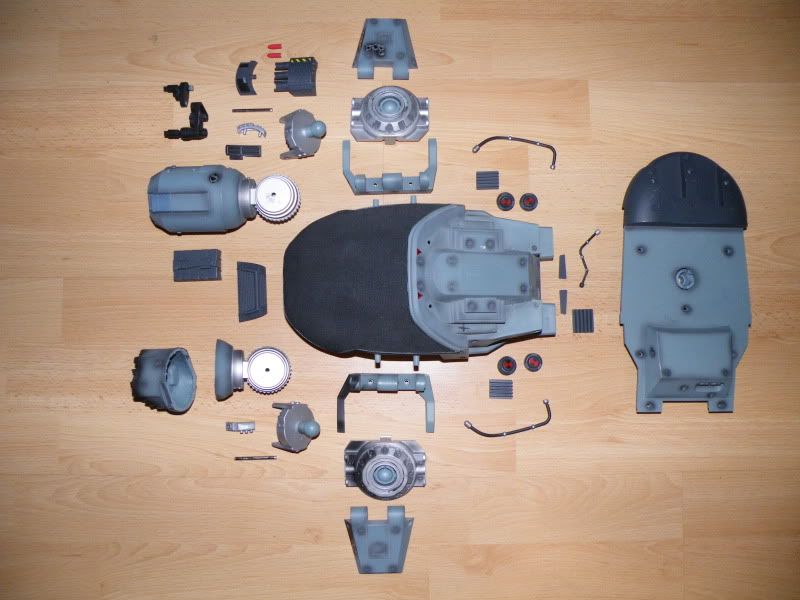
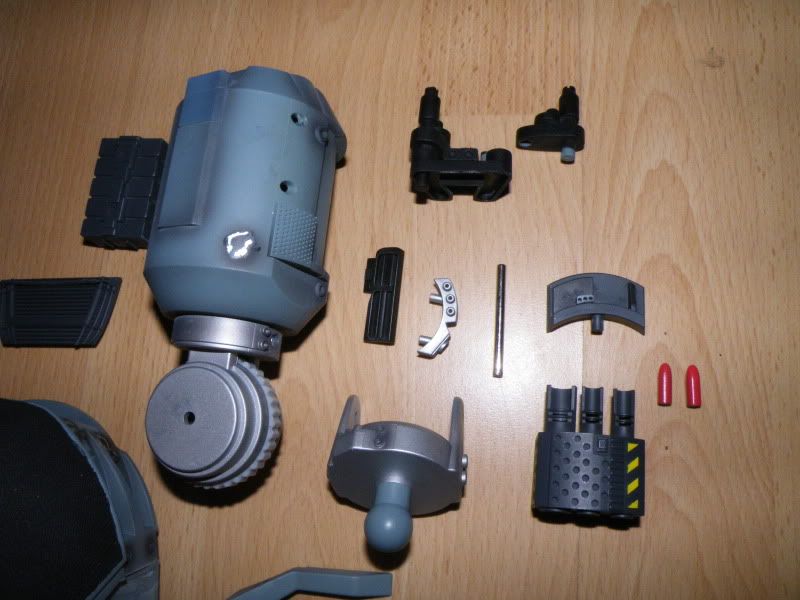
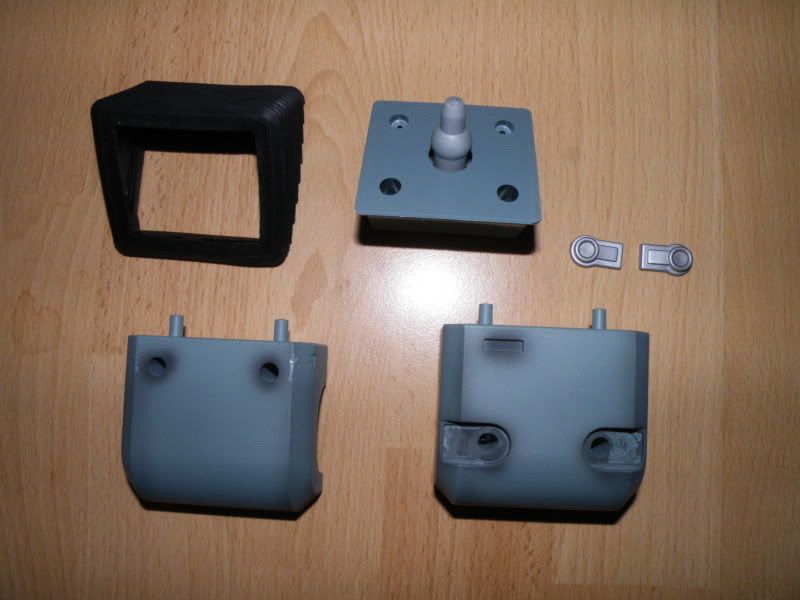
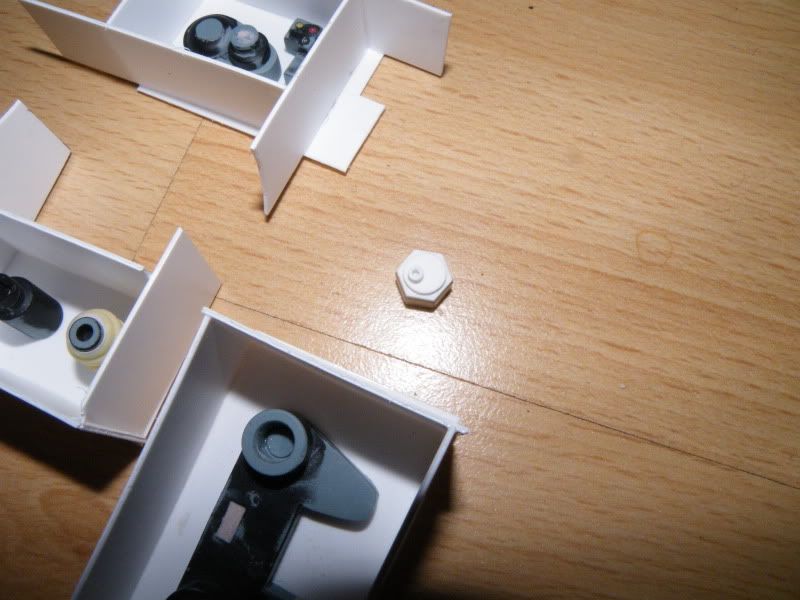
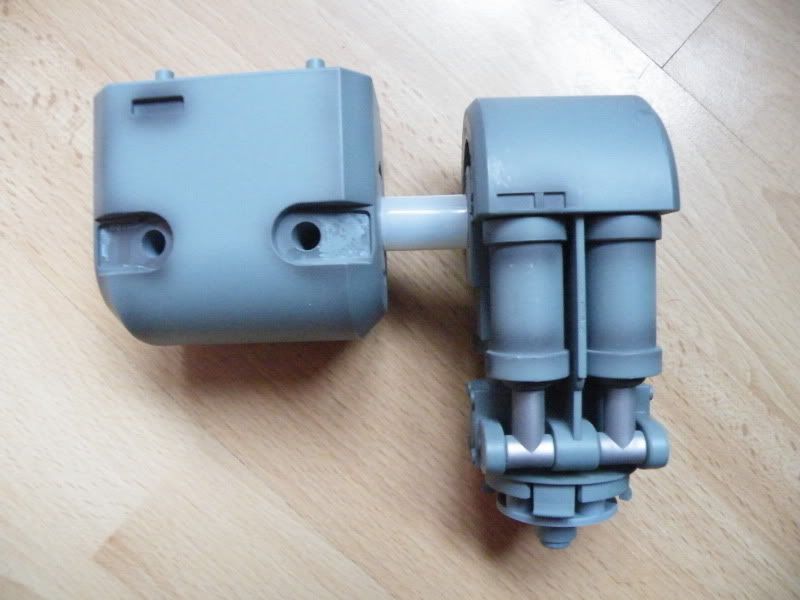
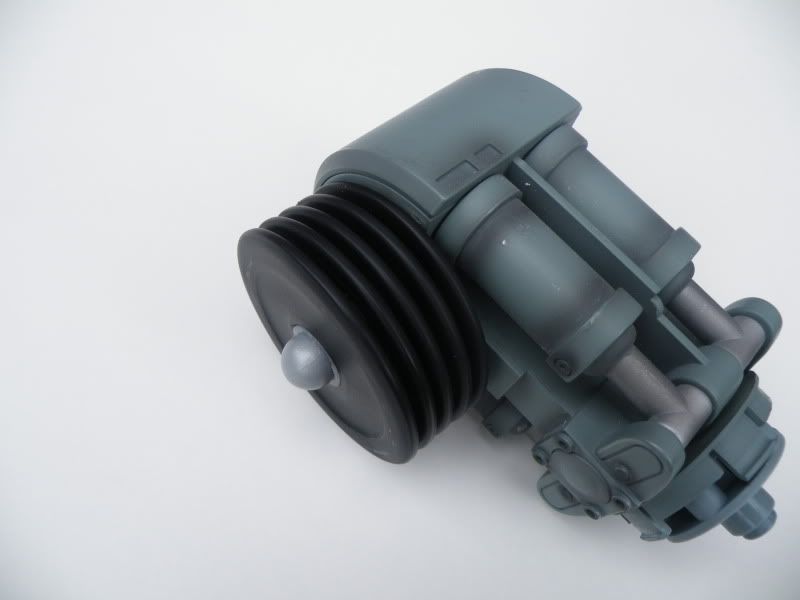
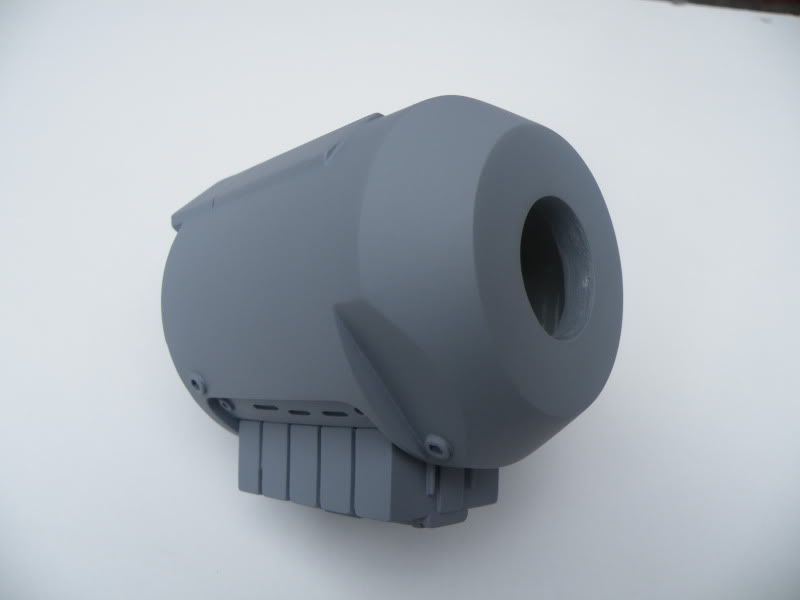
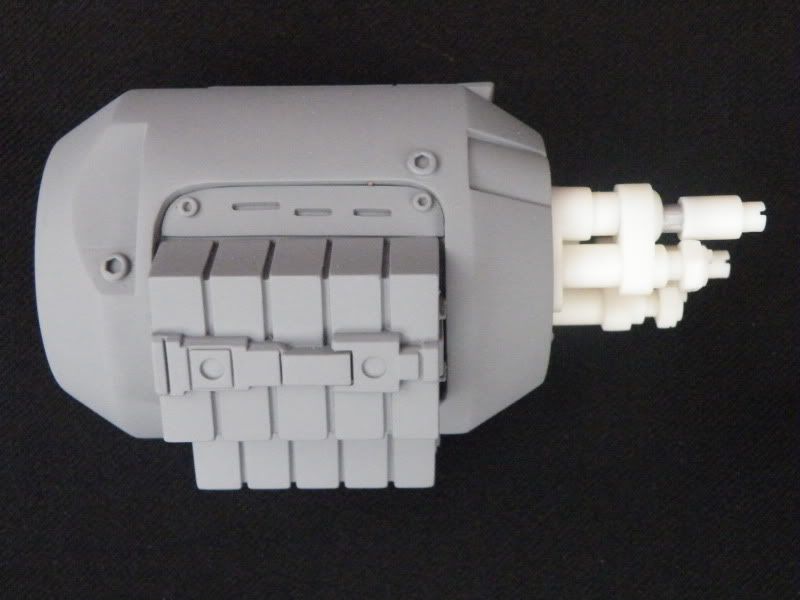
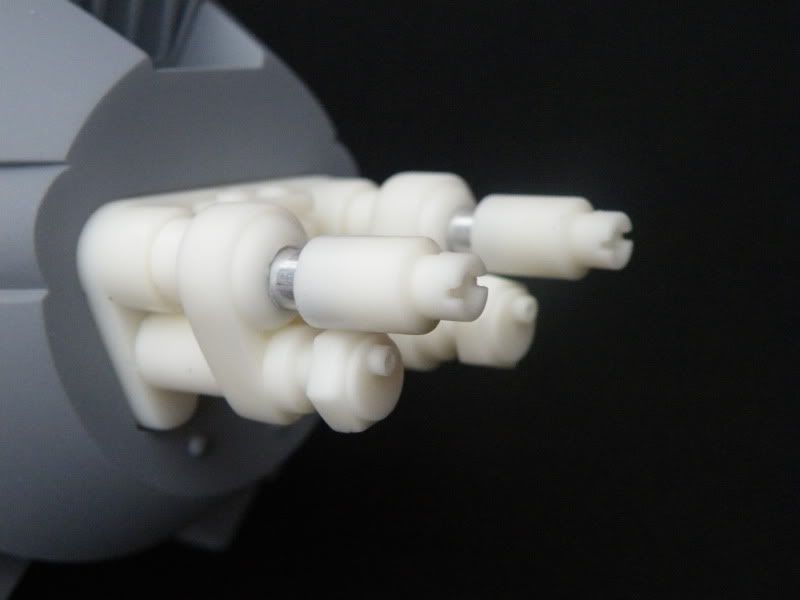
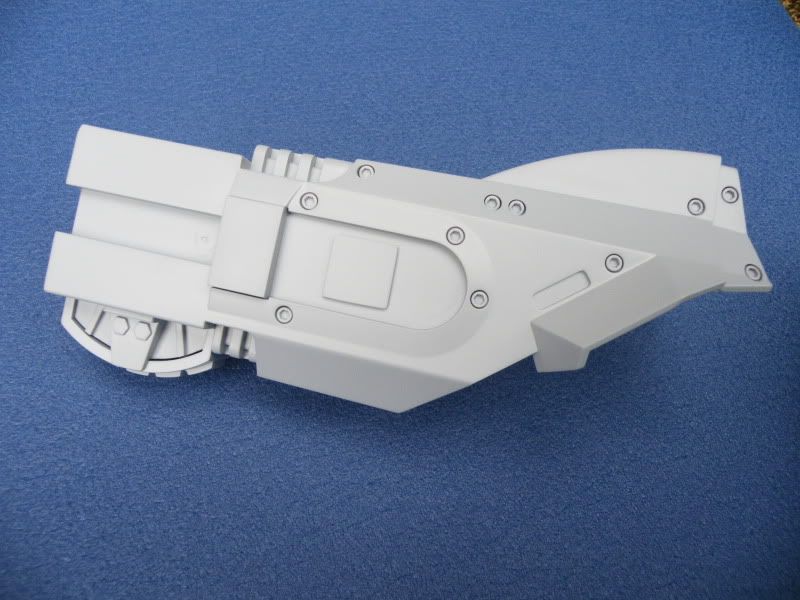
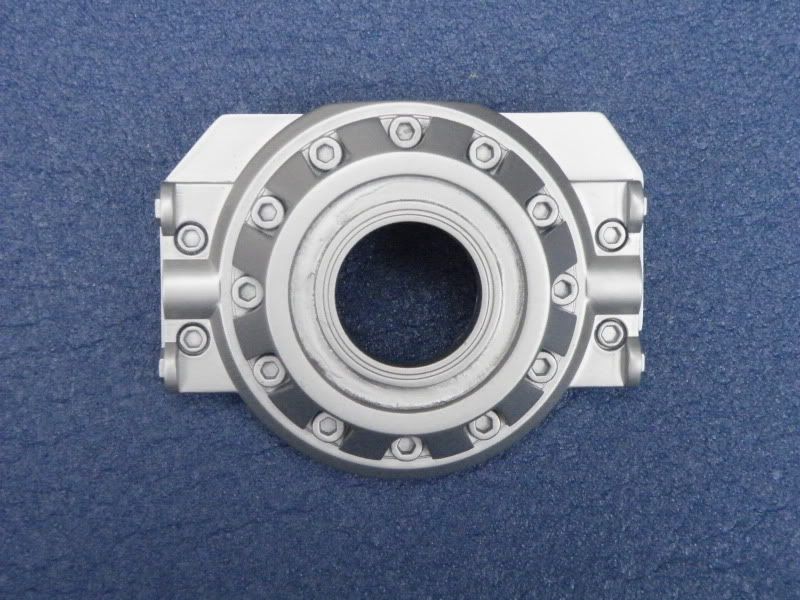
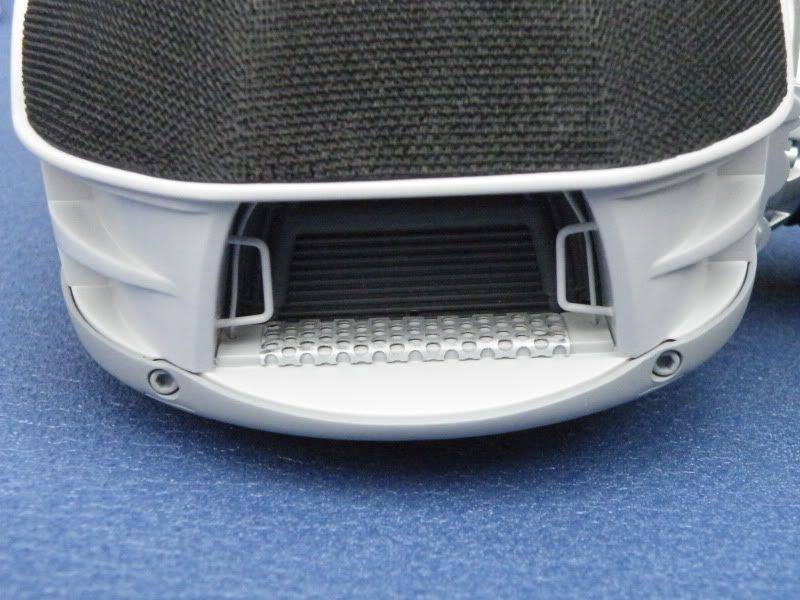
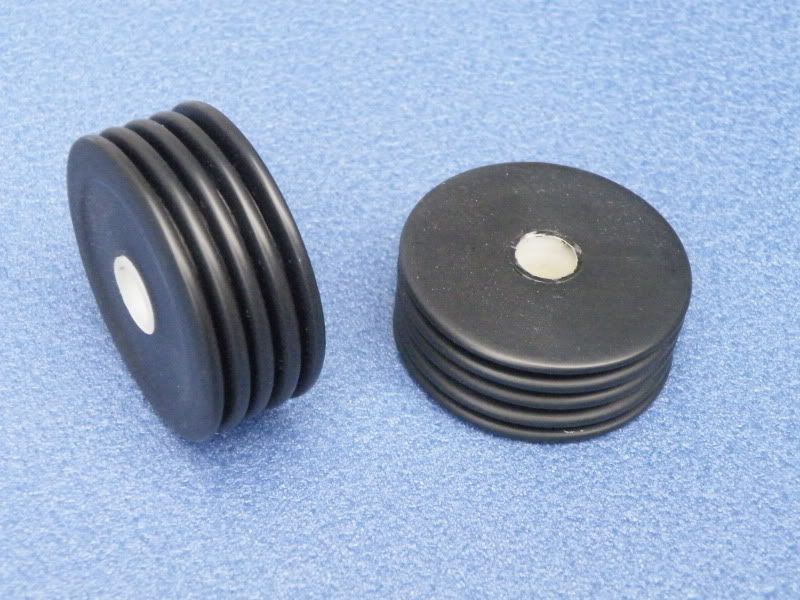
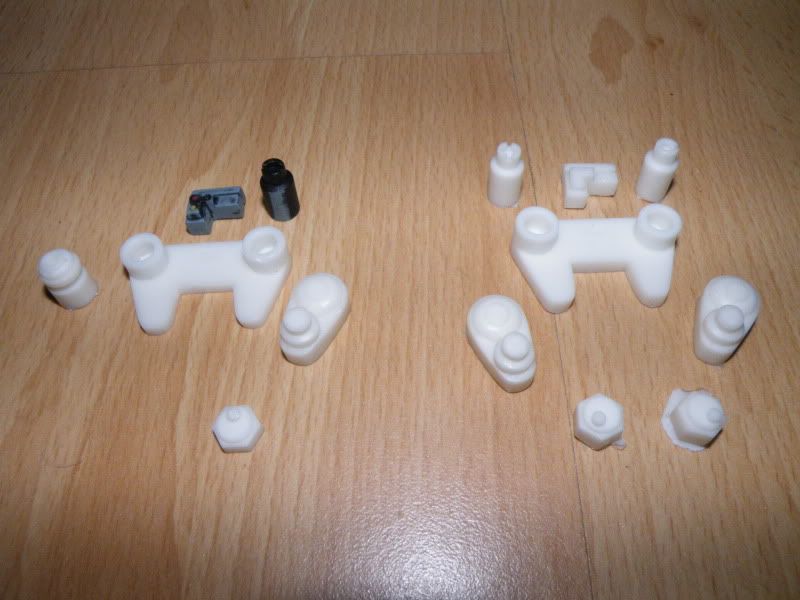
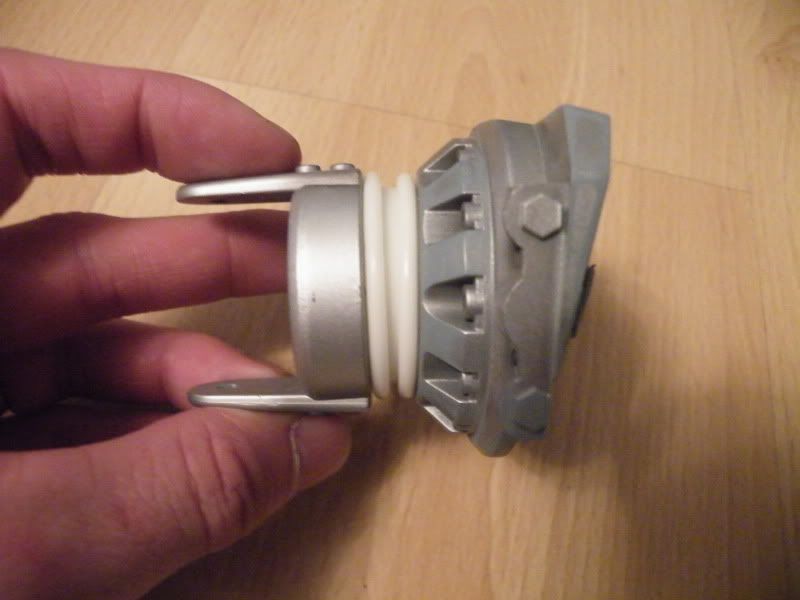
Here are the cast gun parts:


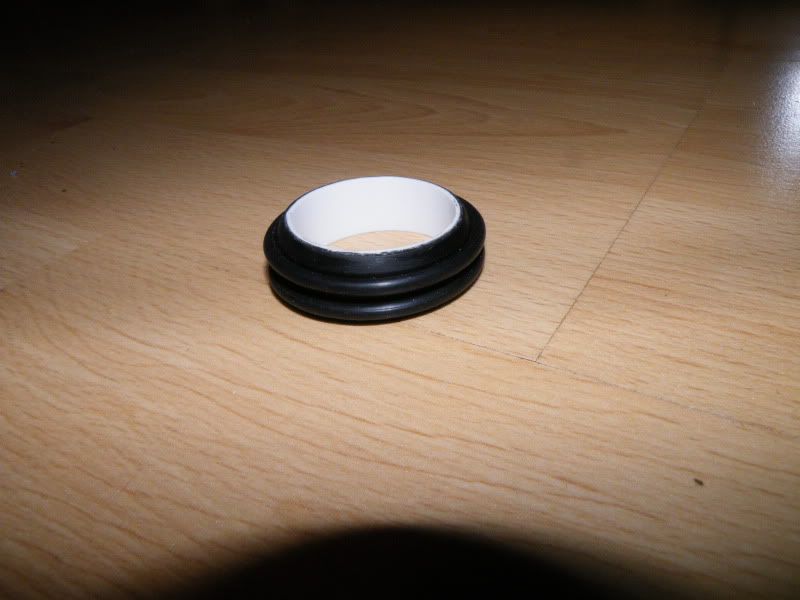
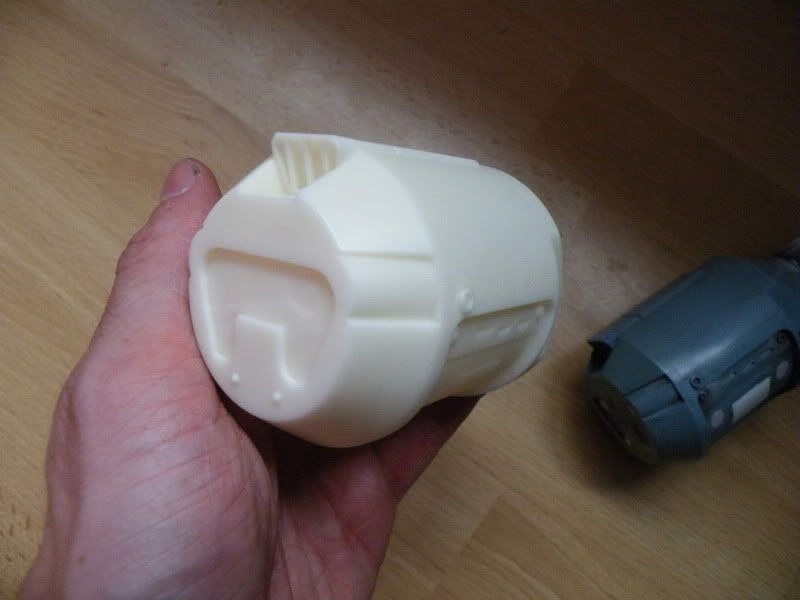
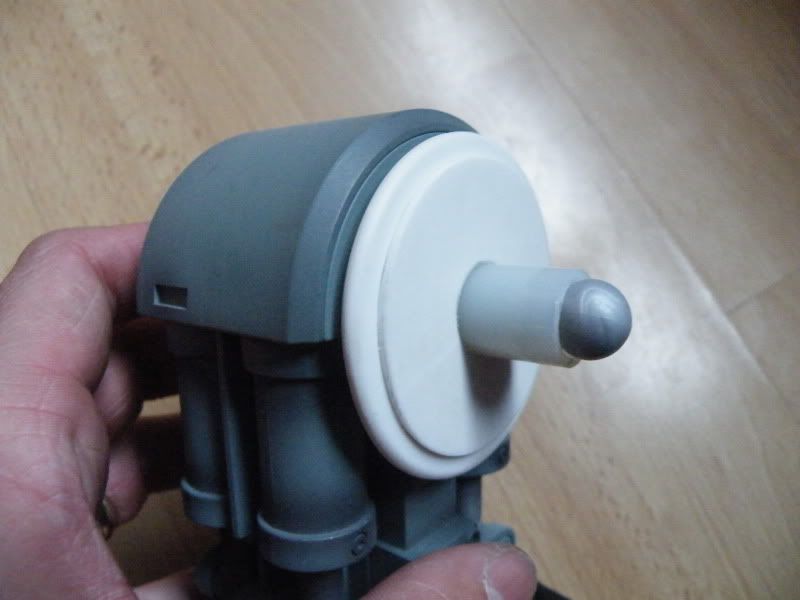
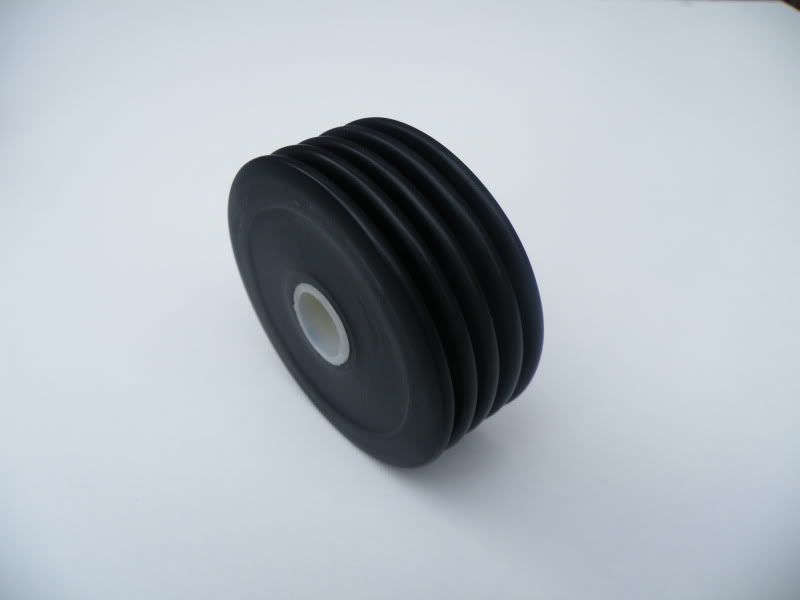
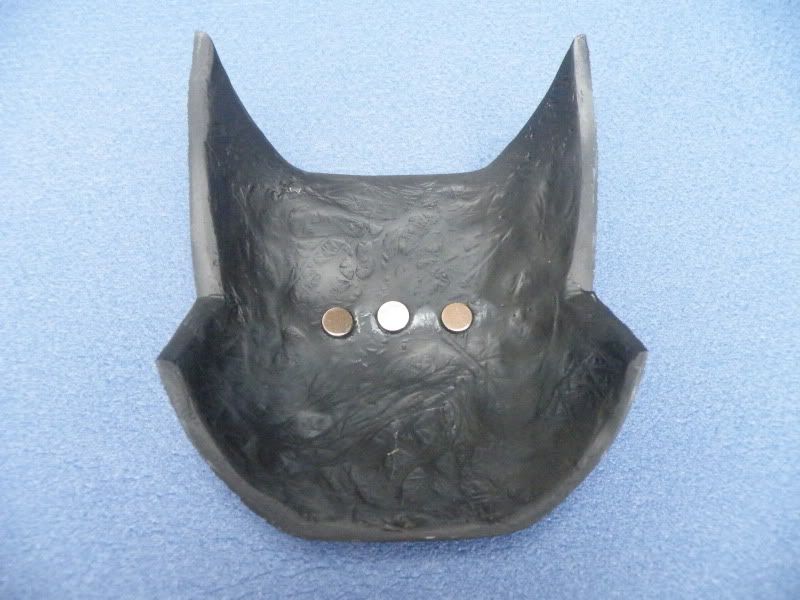
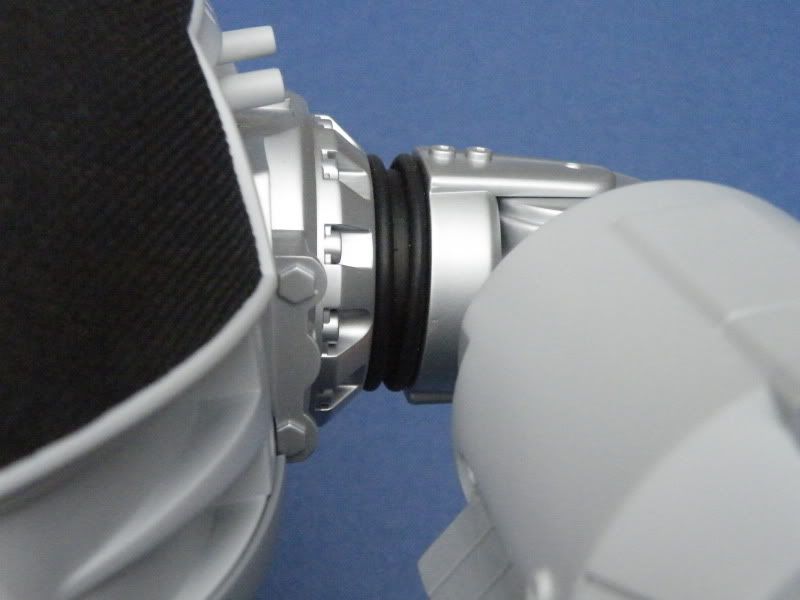
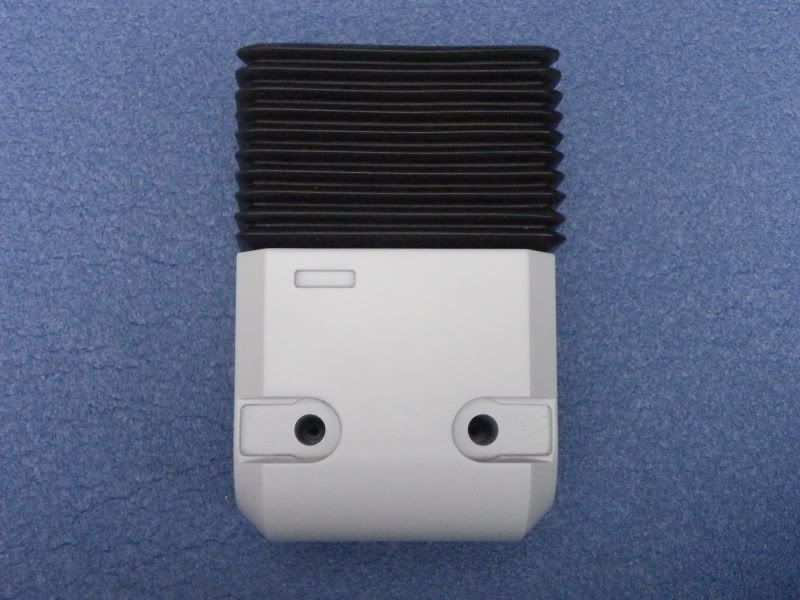
I made a mold of the original rubber neck and cast it in resin:


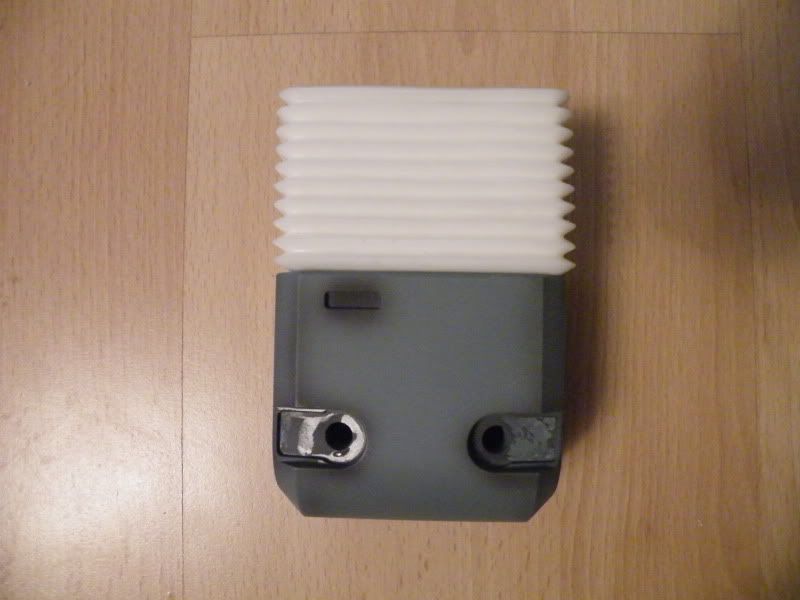
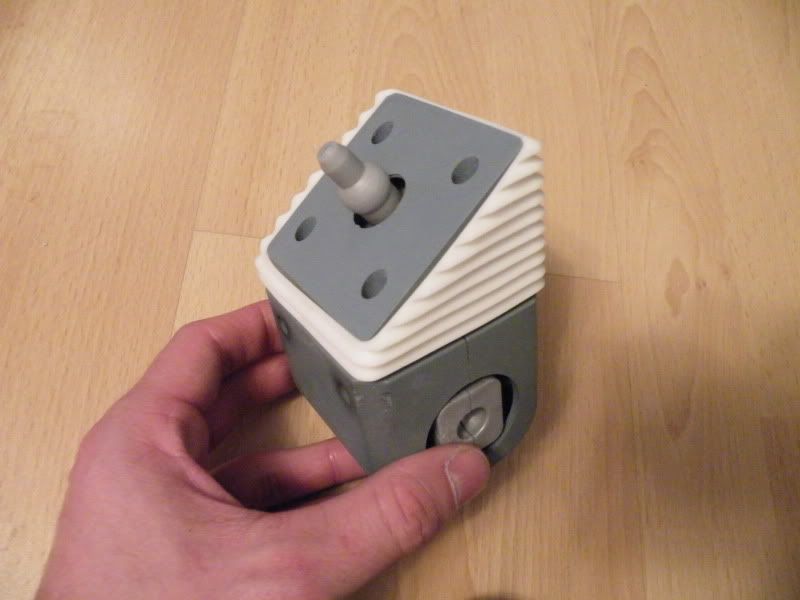
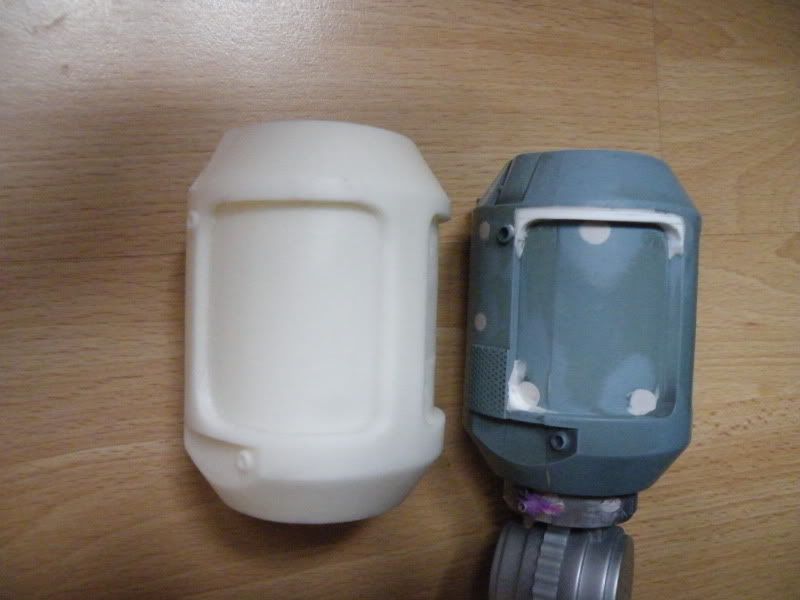
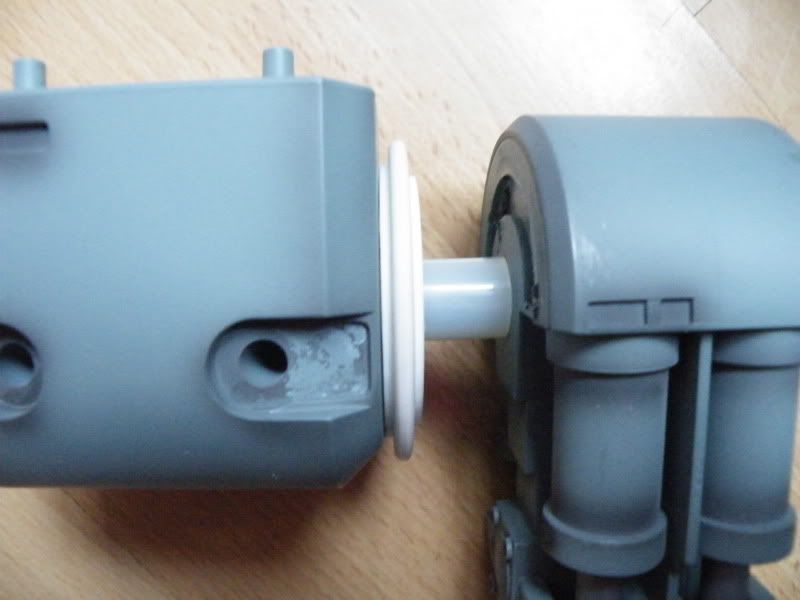
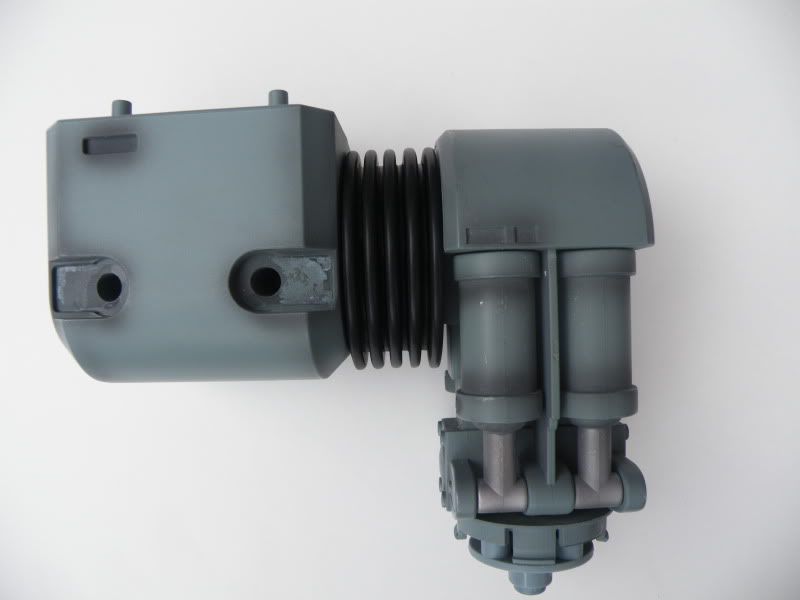
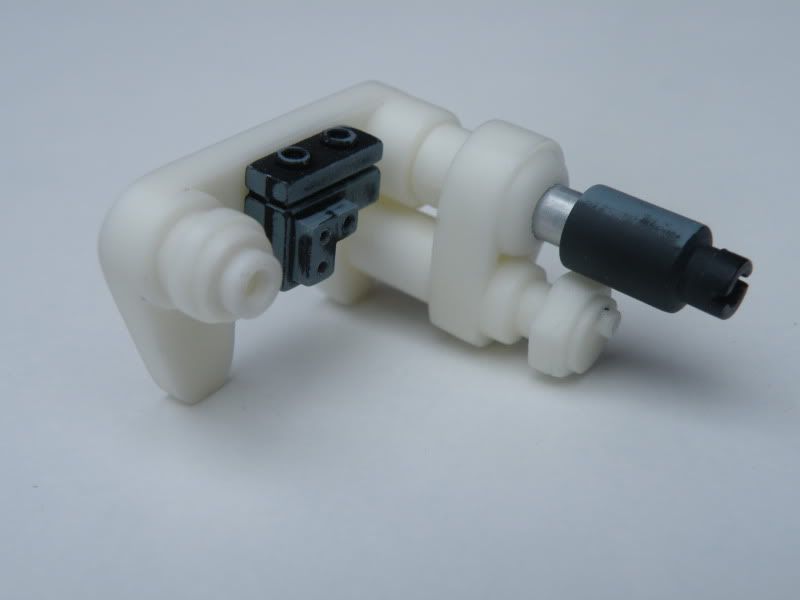
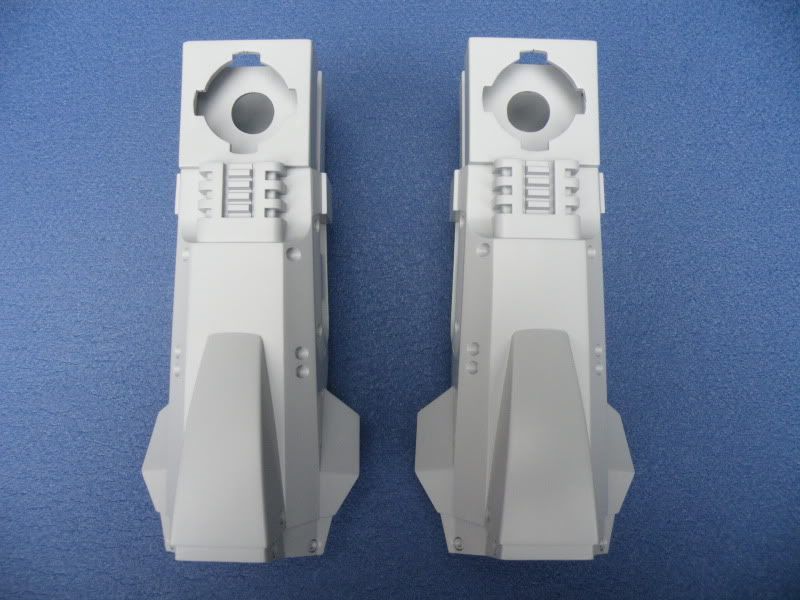
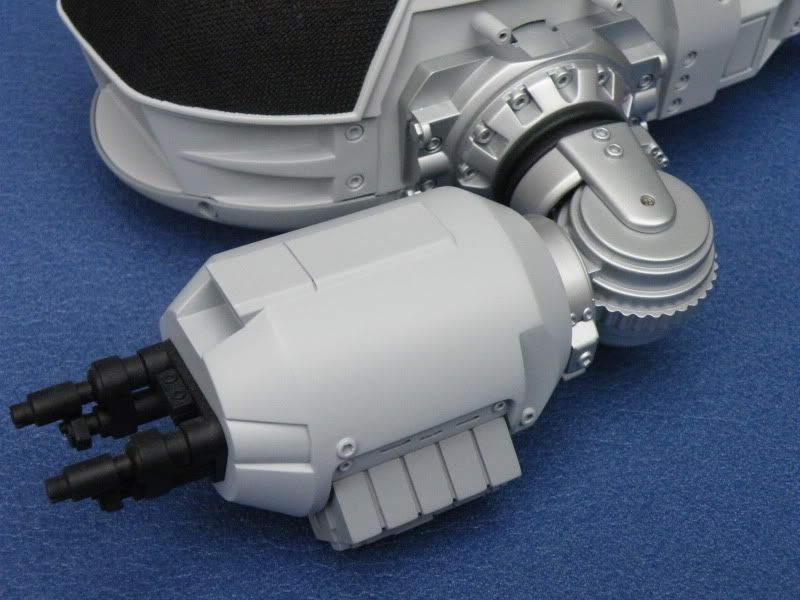
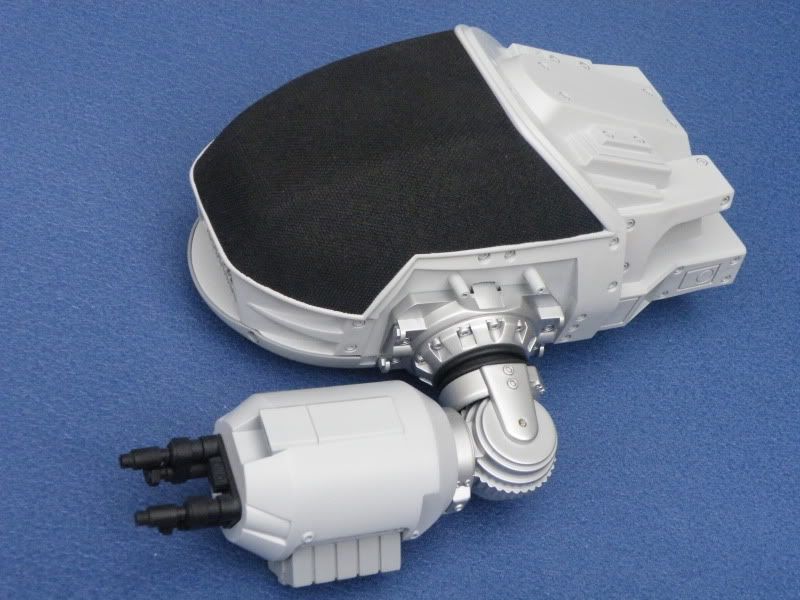
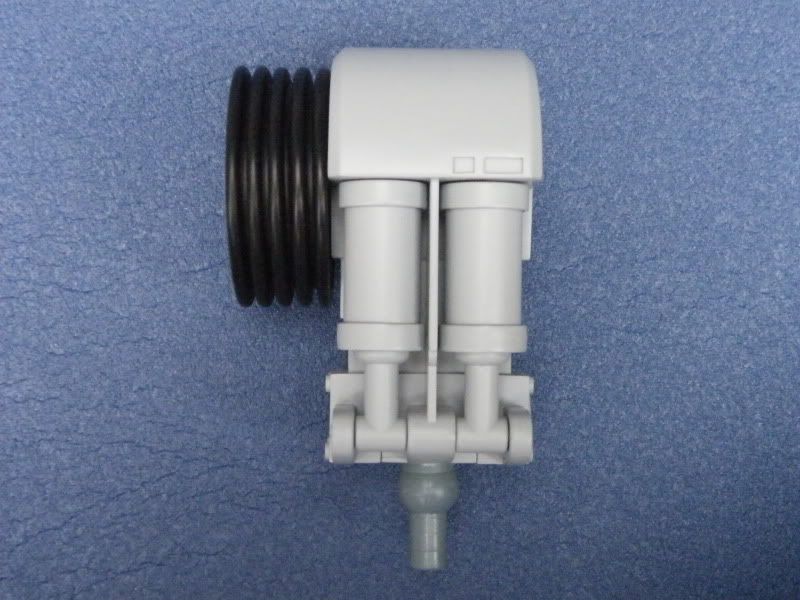
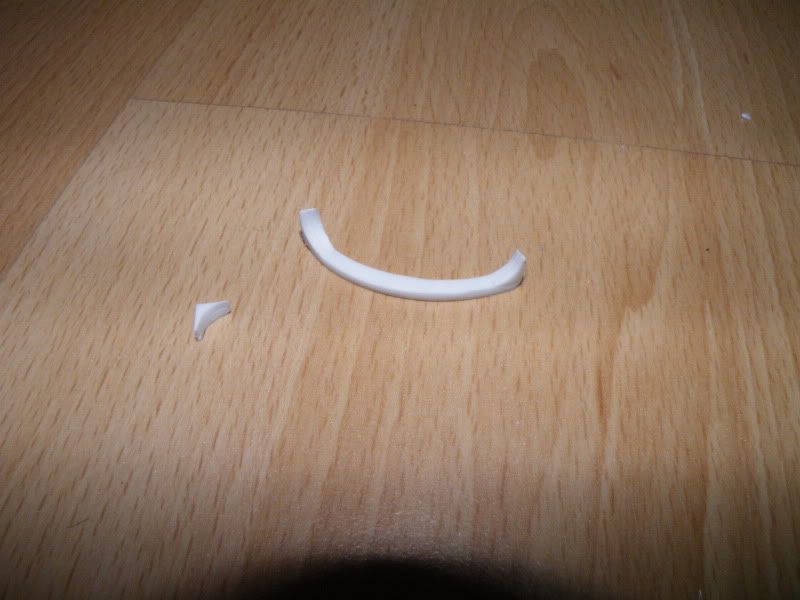
This cast part replaces the rubber between the arm and the side of the head:

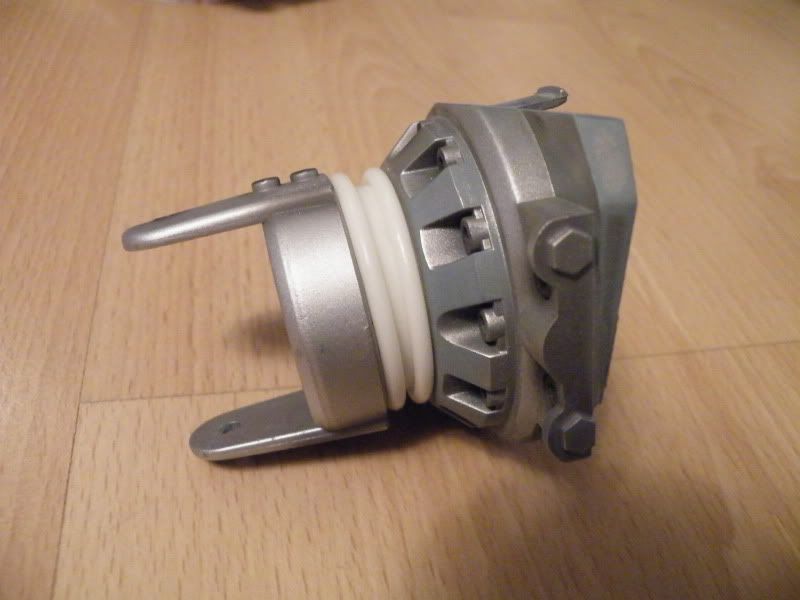
Its not quite as simple as it looks, as for the gun pod section of the arm to be horizontal, the arm has to be dropped down a little at the shoulder, so the part that replaces the rubber had to have the correct angle:


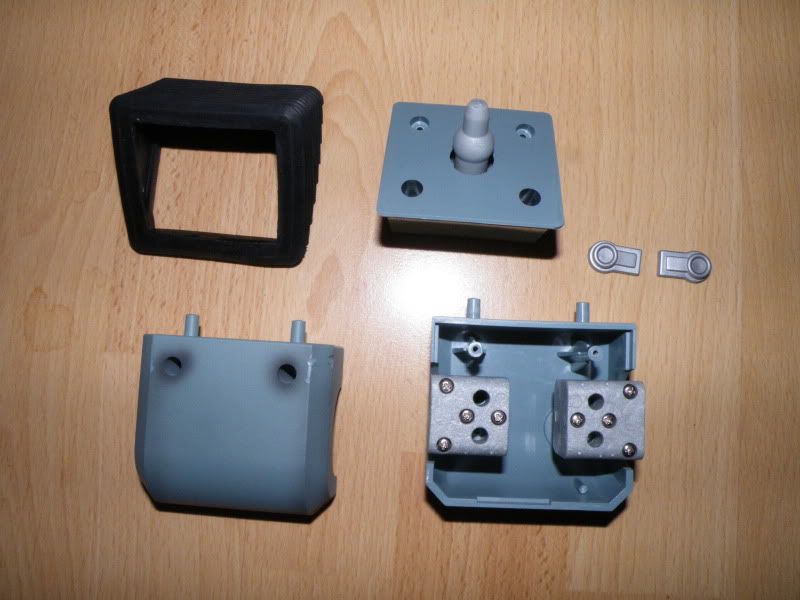
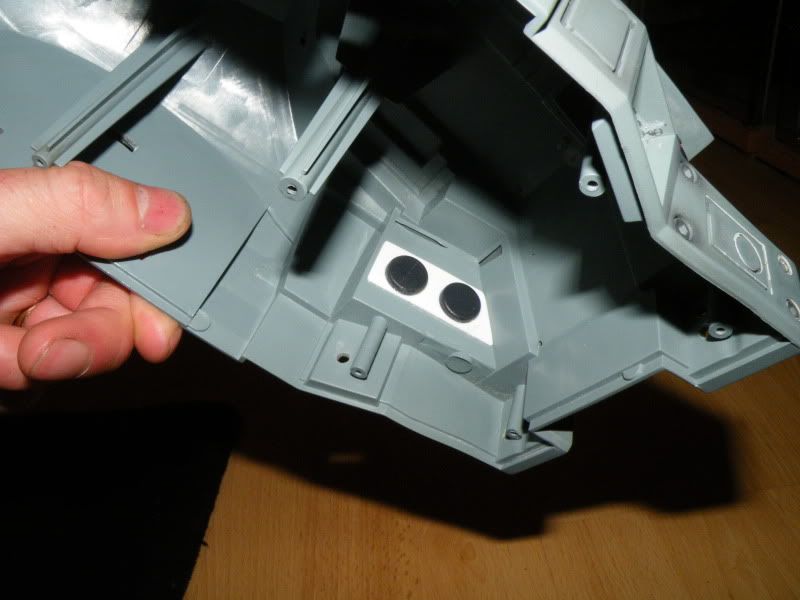
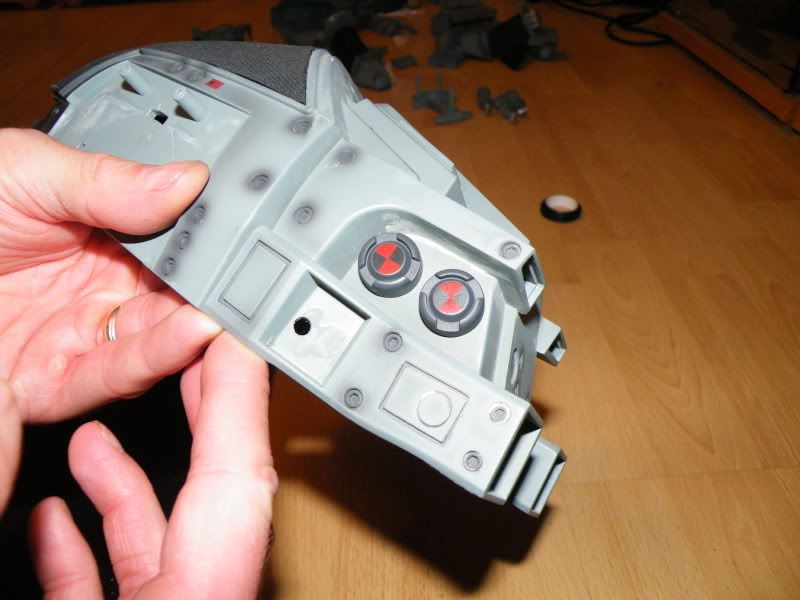
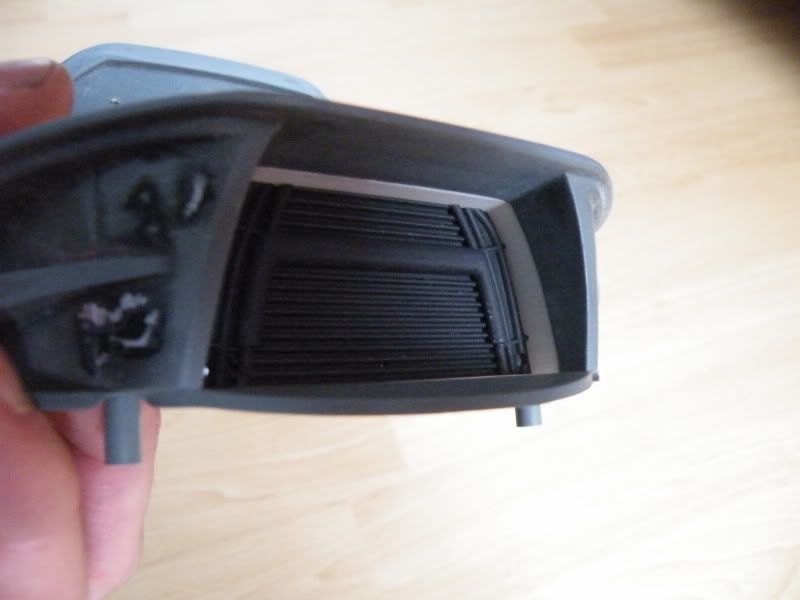
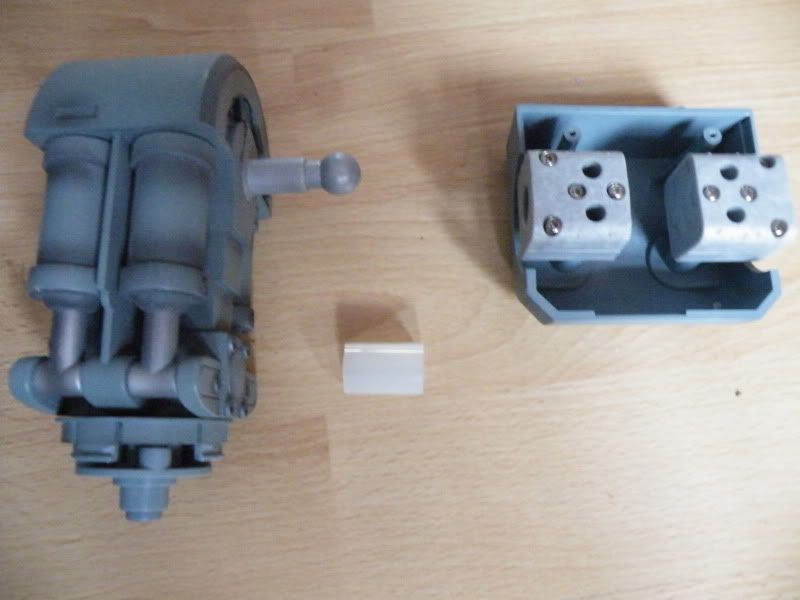
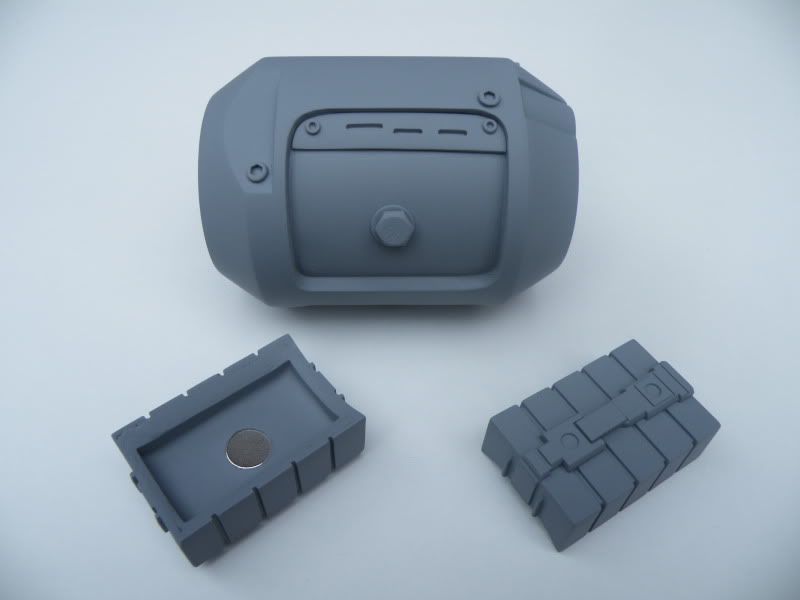
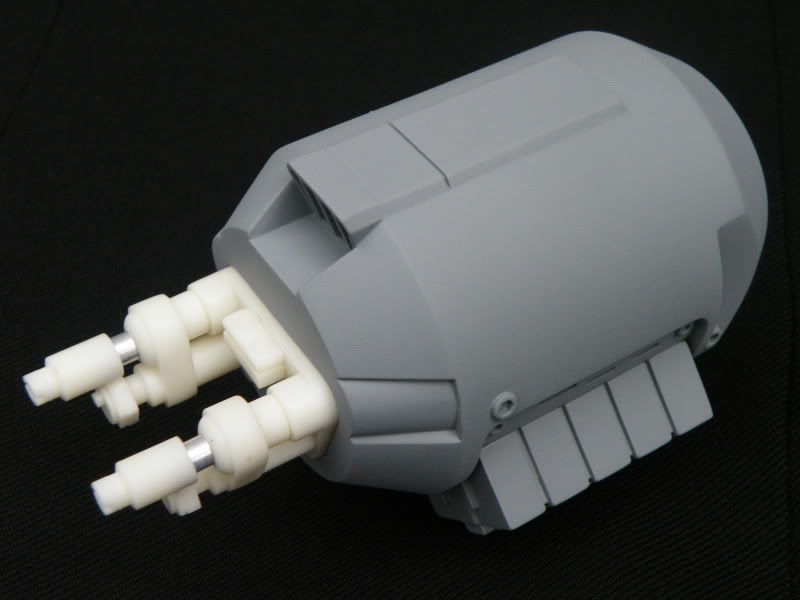
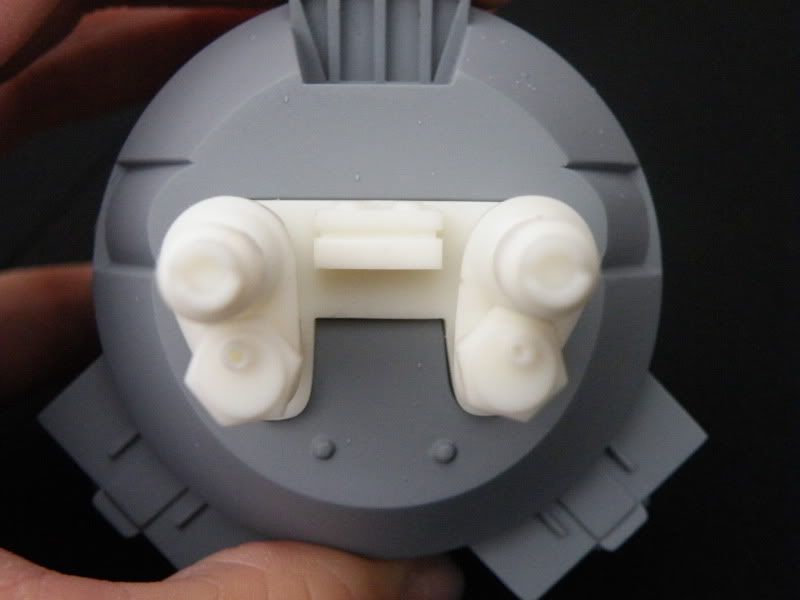
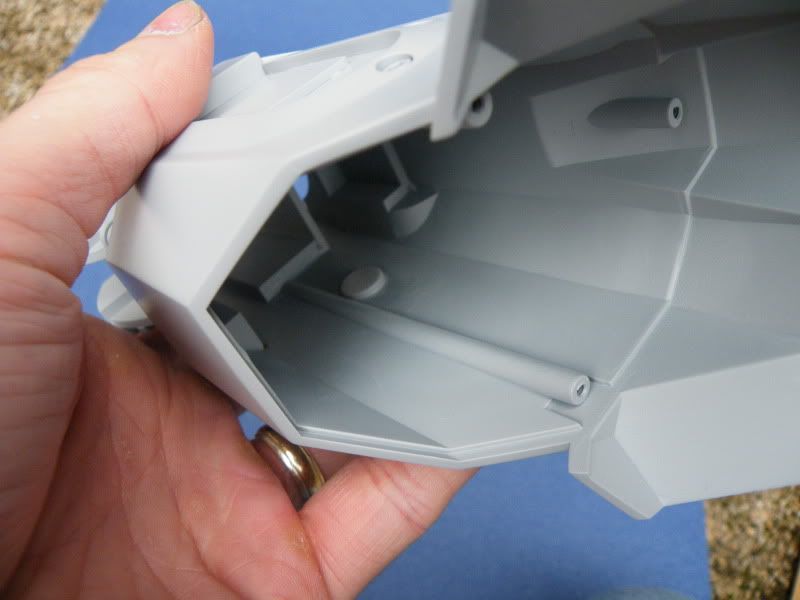
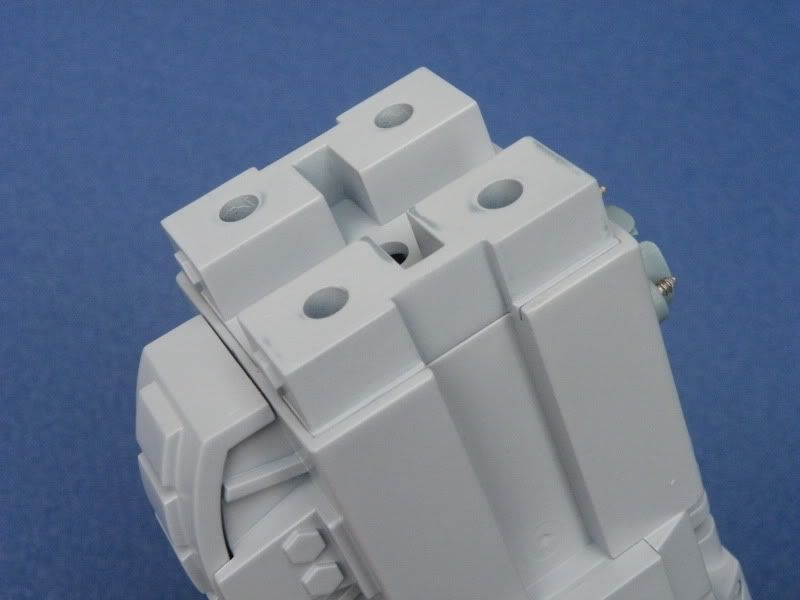
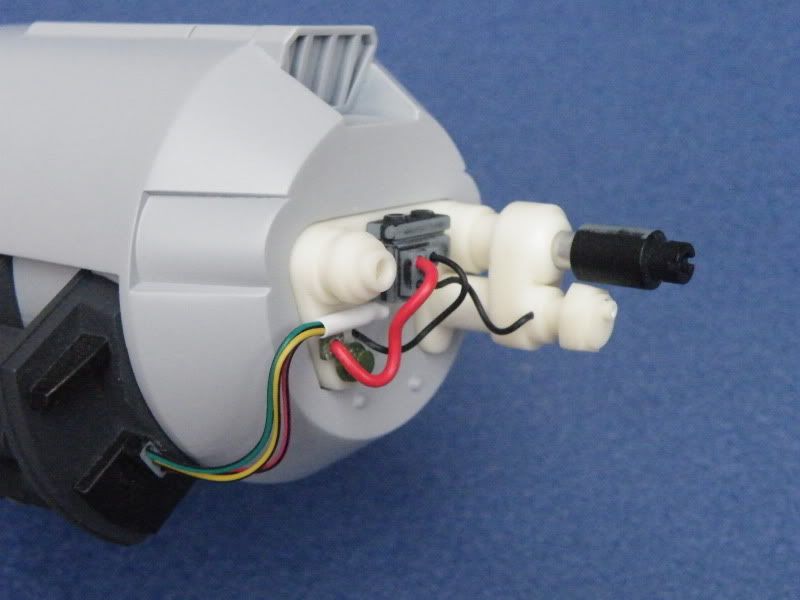
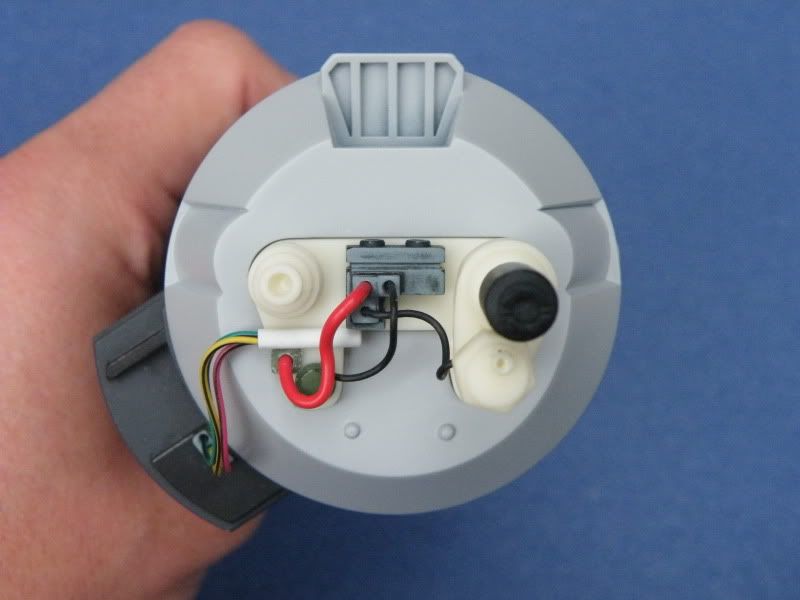
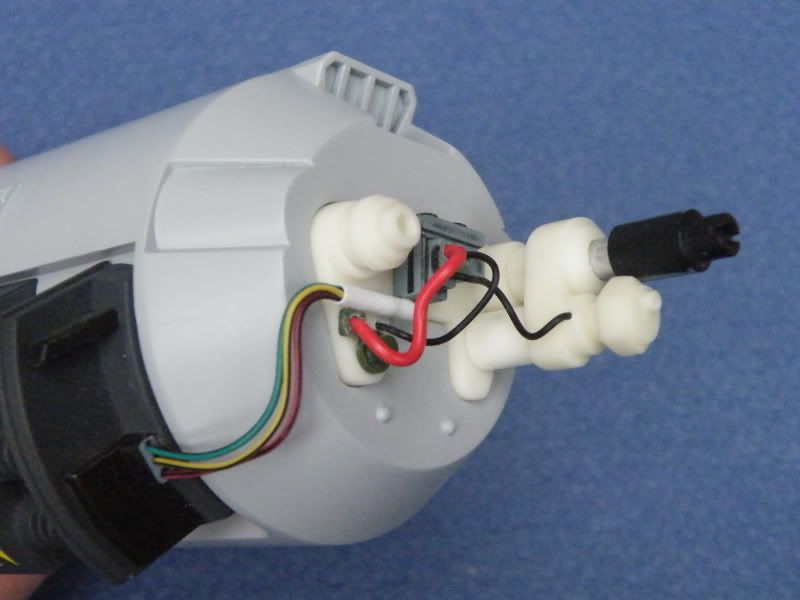
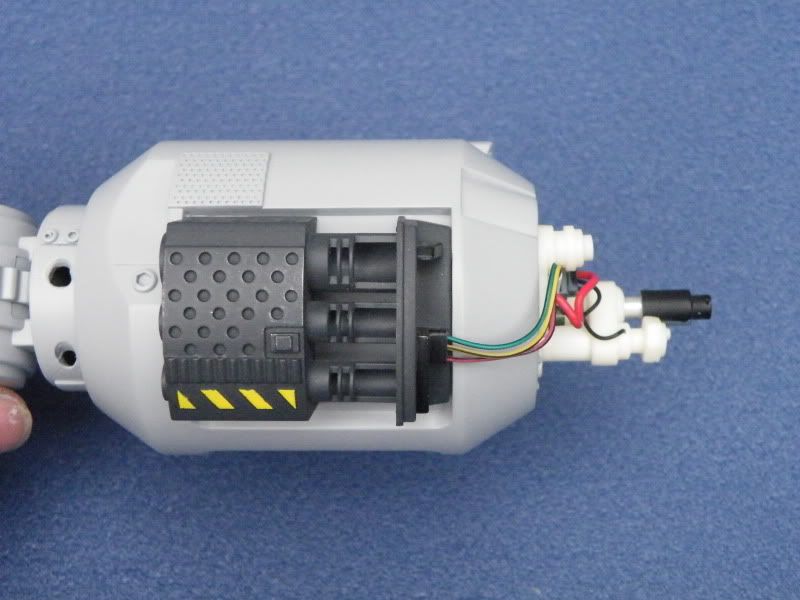
I was almost ready to mold the arm/gun pod to replace the battle damaged left arm, when i noticed that the recess for the rocket launcher was larger than the recess for the ammo box.

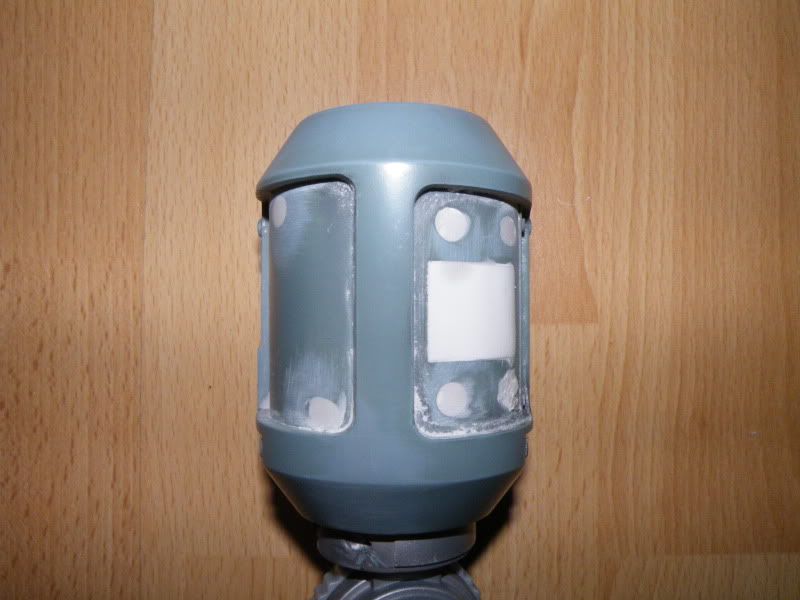
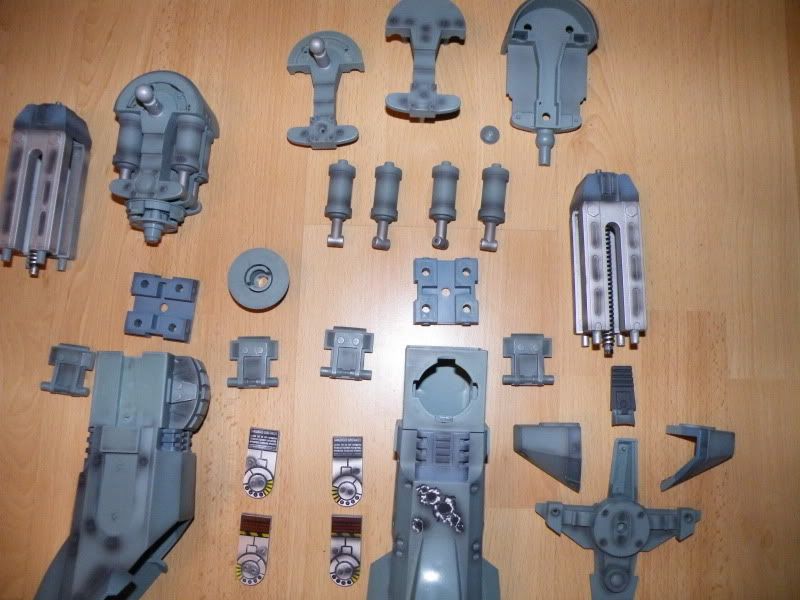
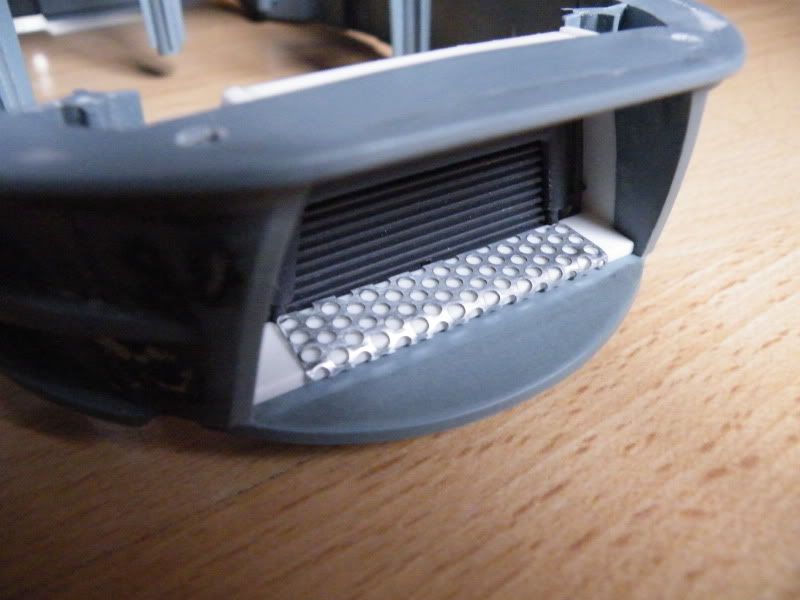
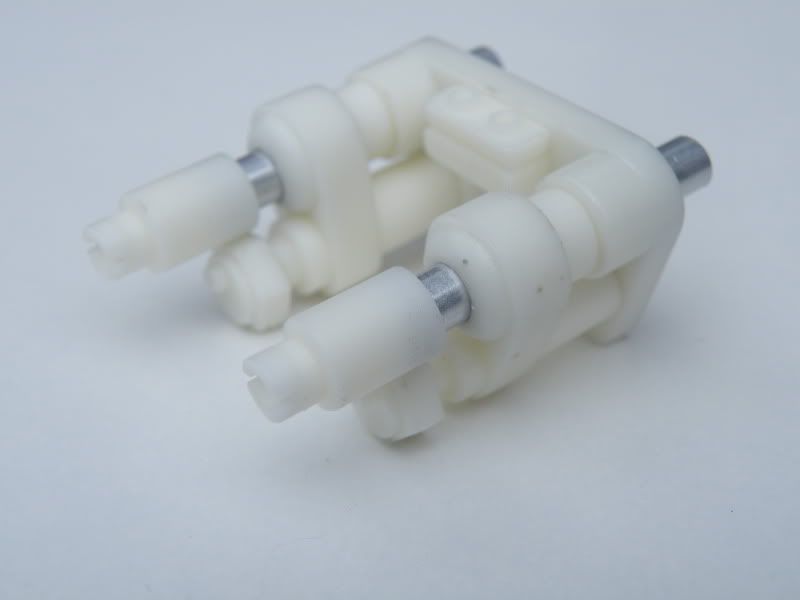
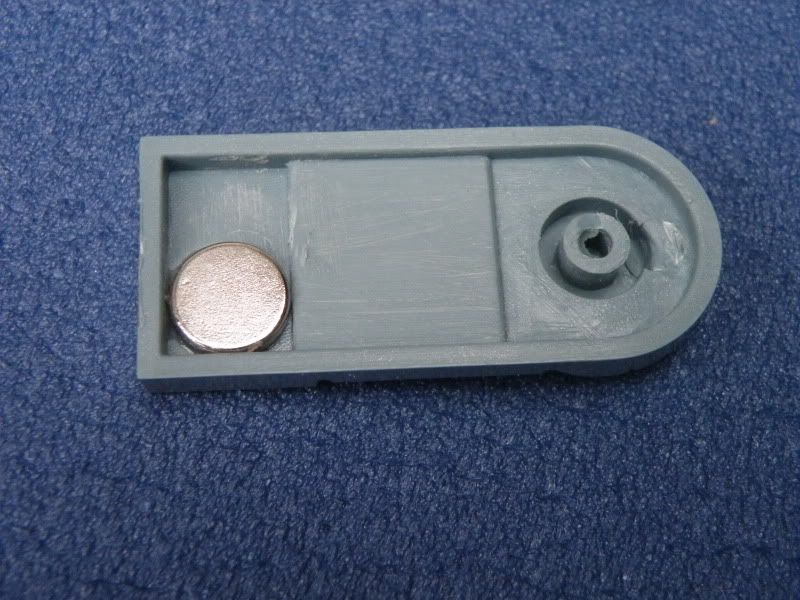
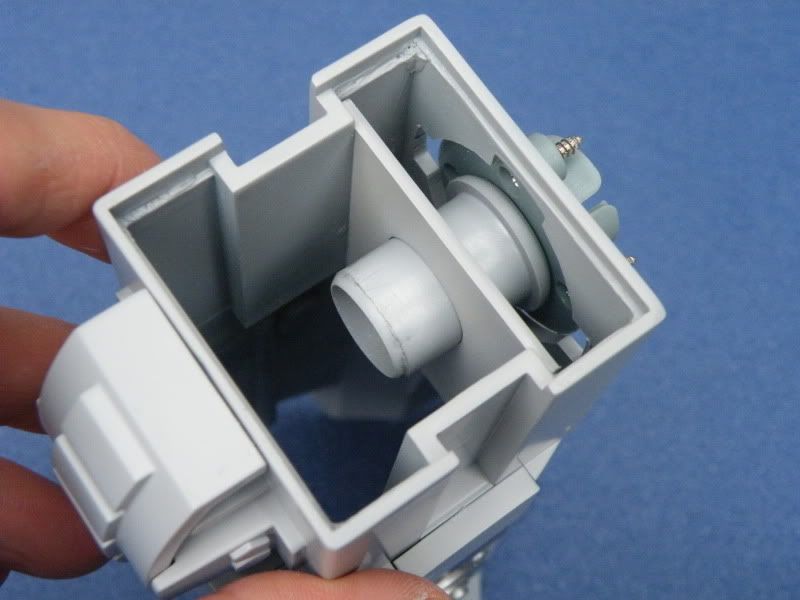
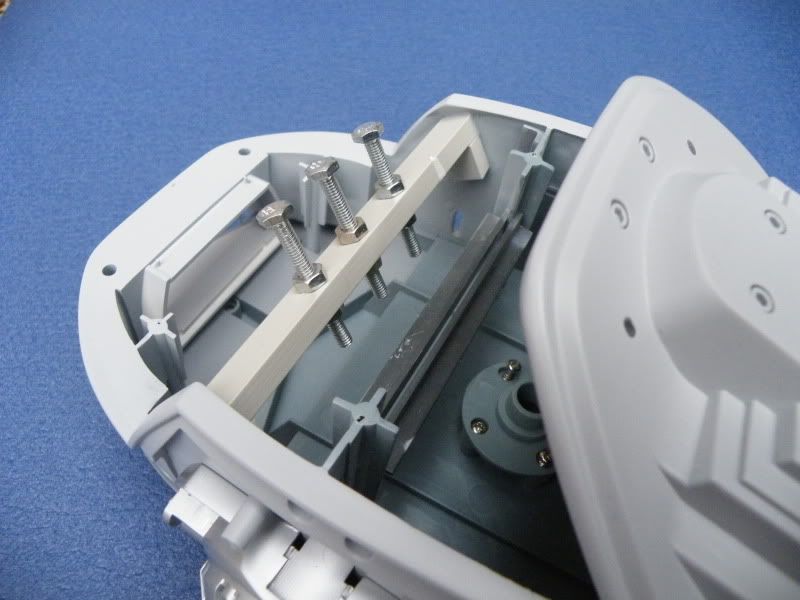
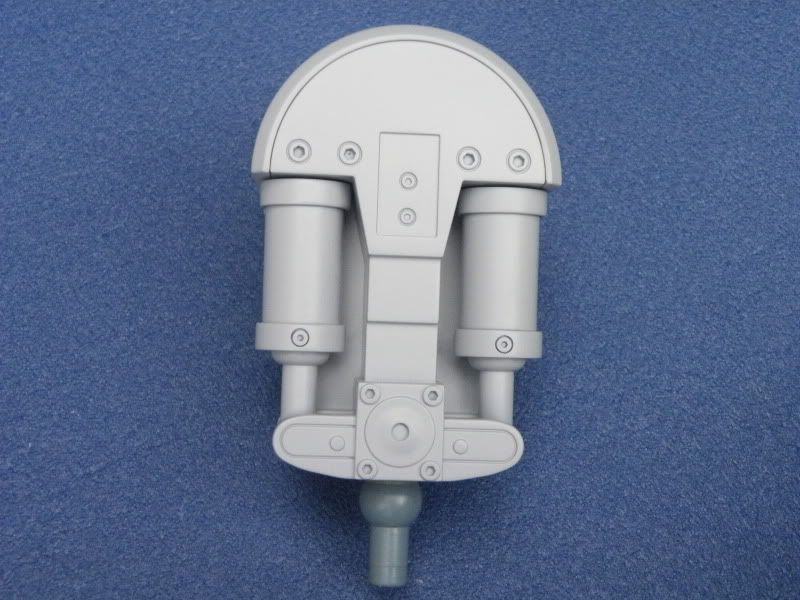
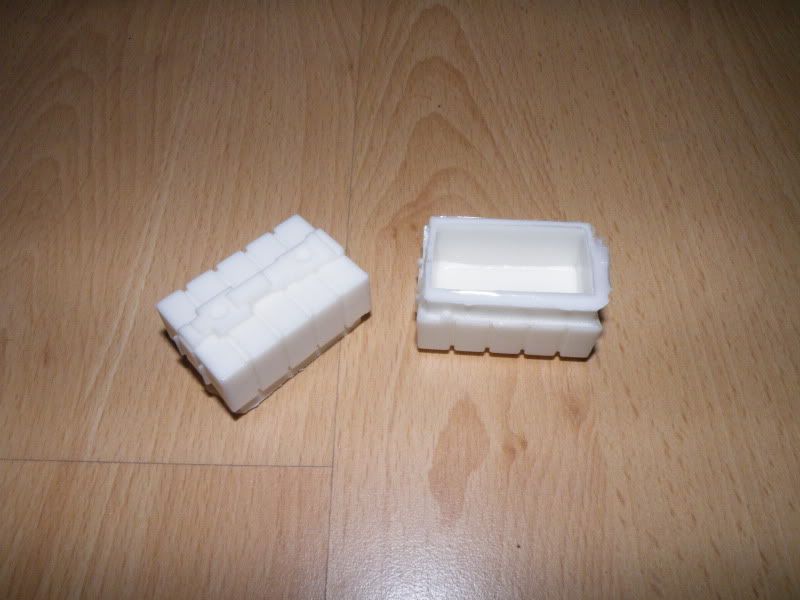
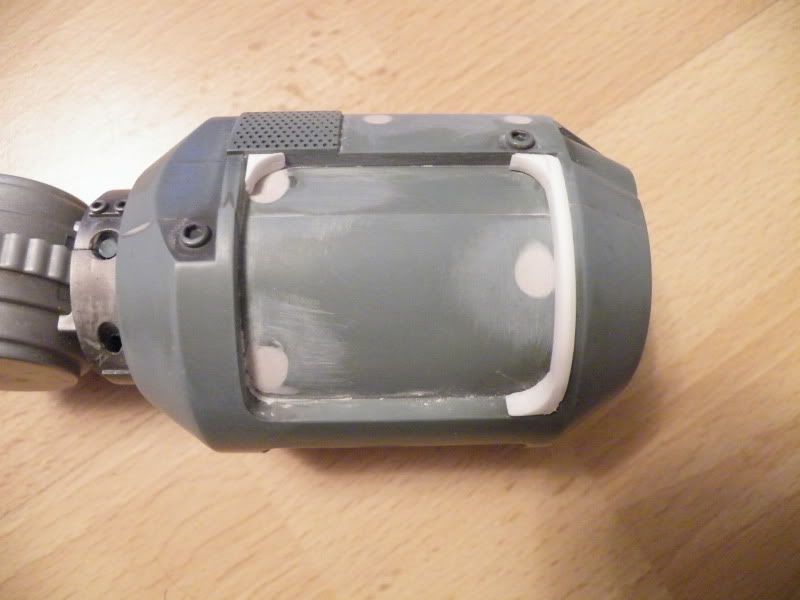
The left arm has two ammo boxes, so i had to make this:

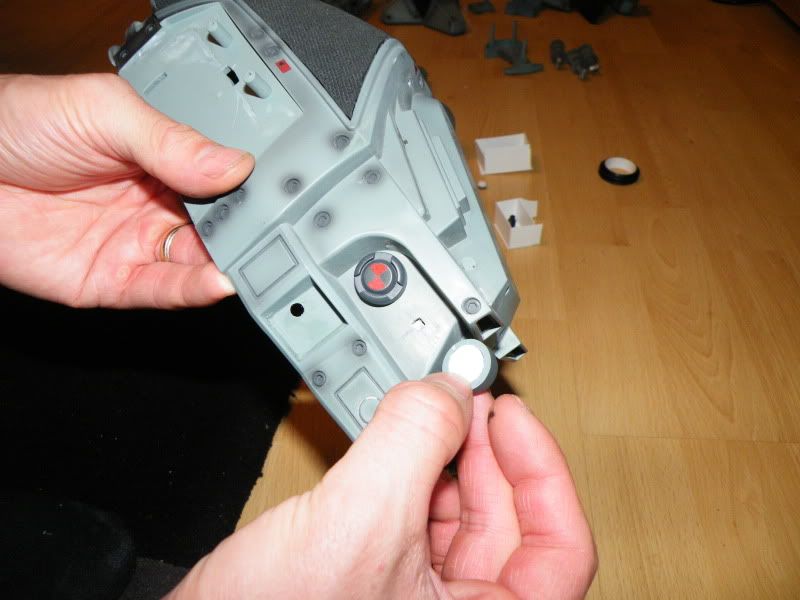
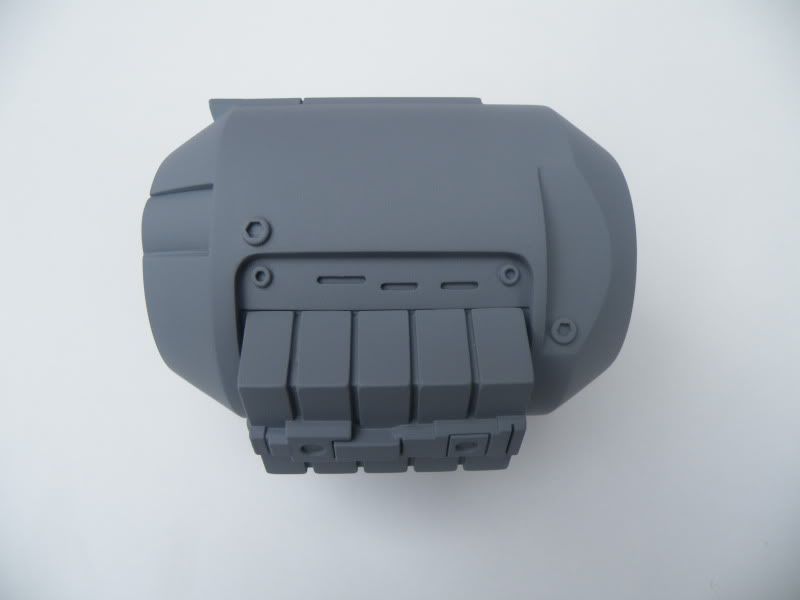
There are 8 parts to make those 2 parts. I am going to temporarily glue and fill these parts in place for molding, then remove them again when done:


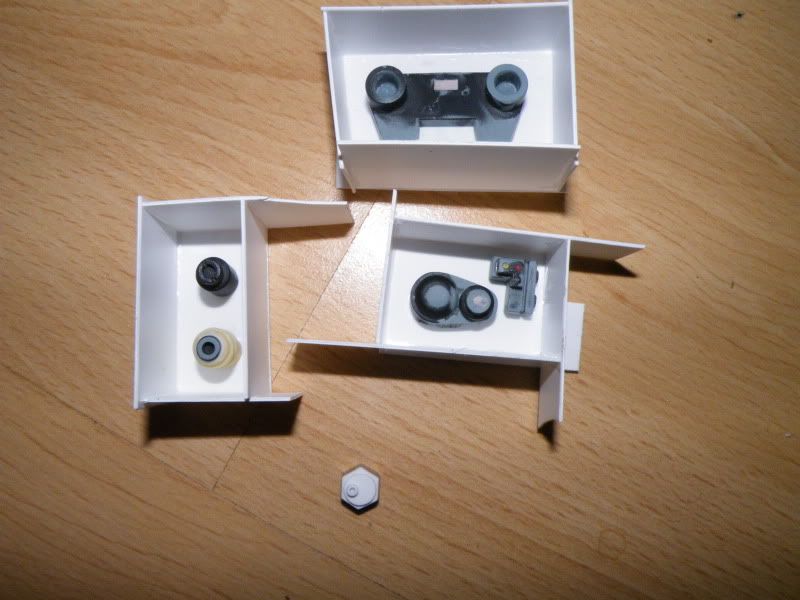
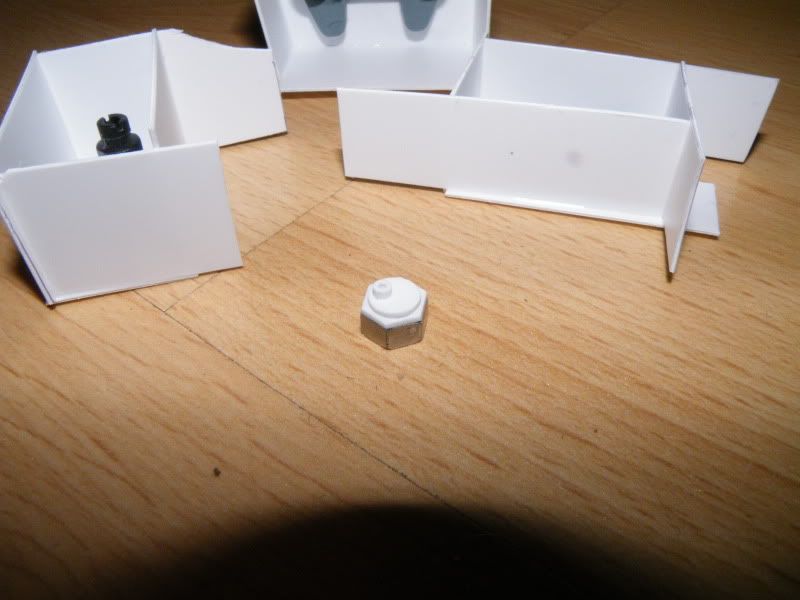
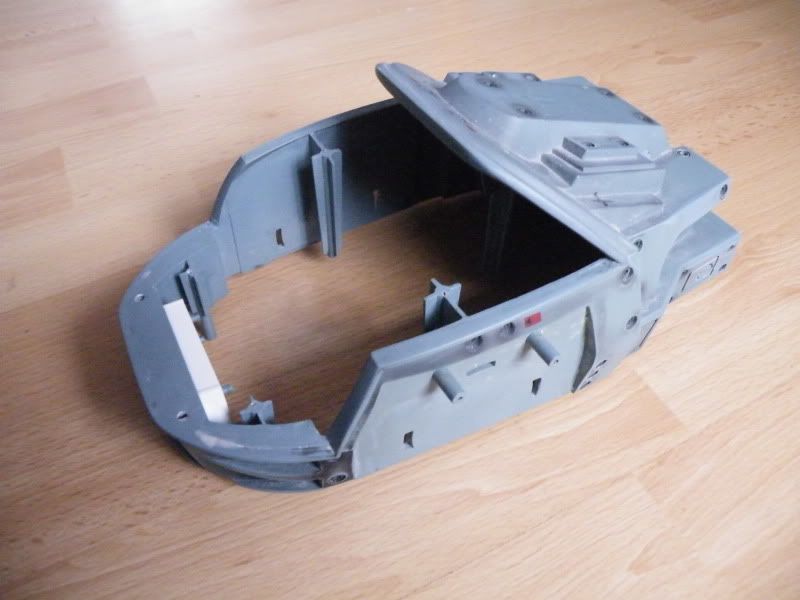
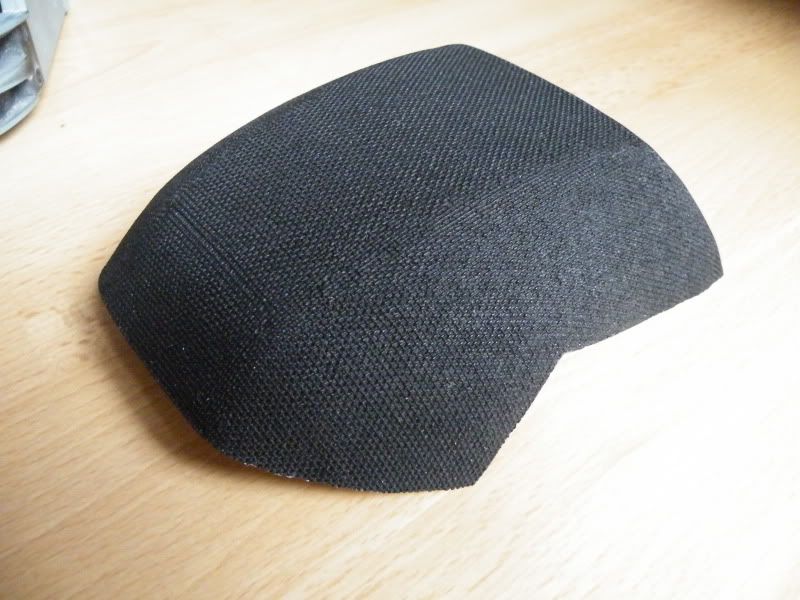
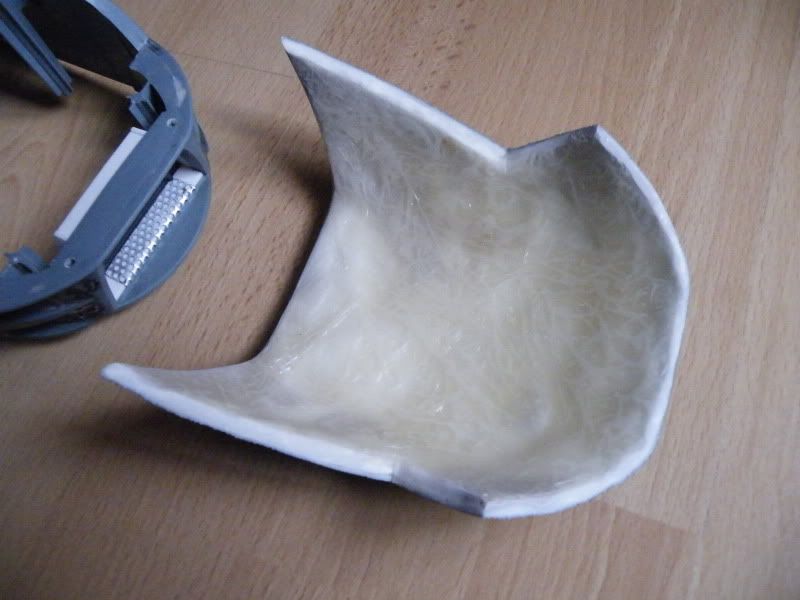
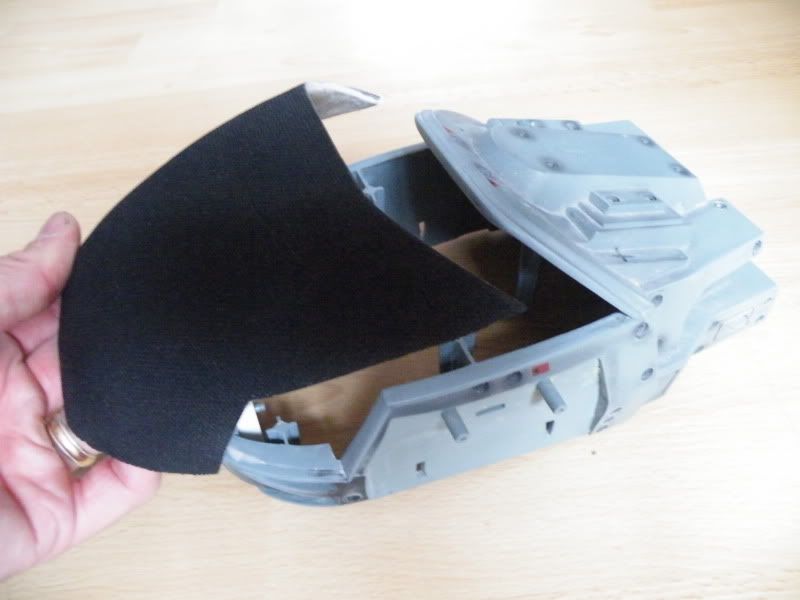
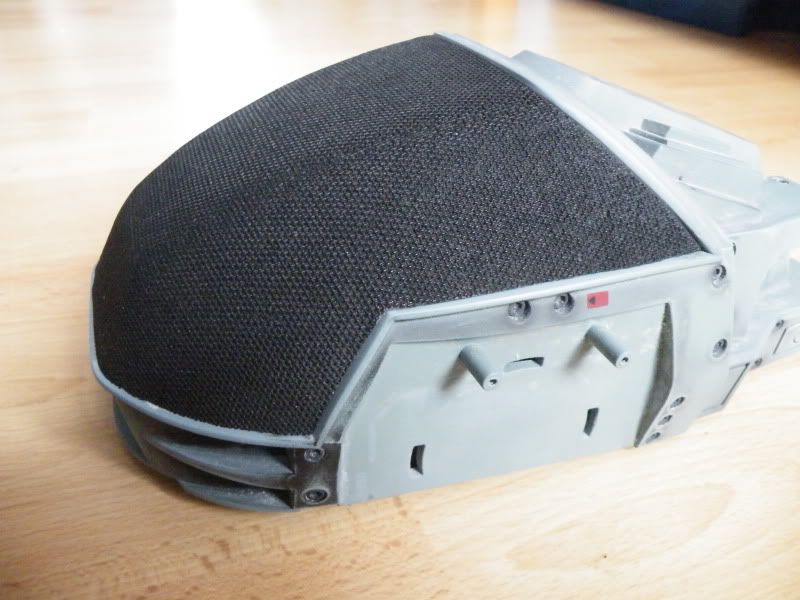
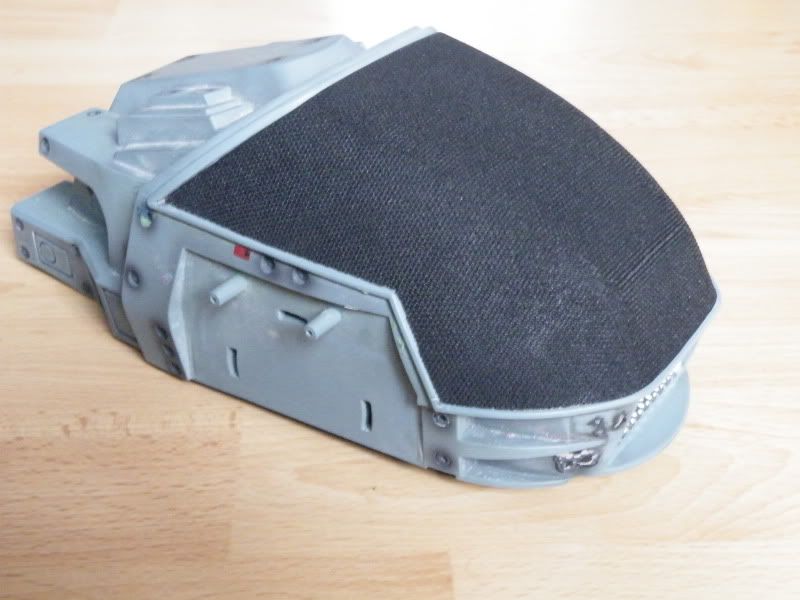
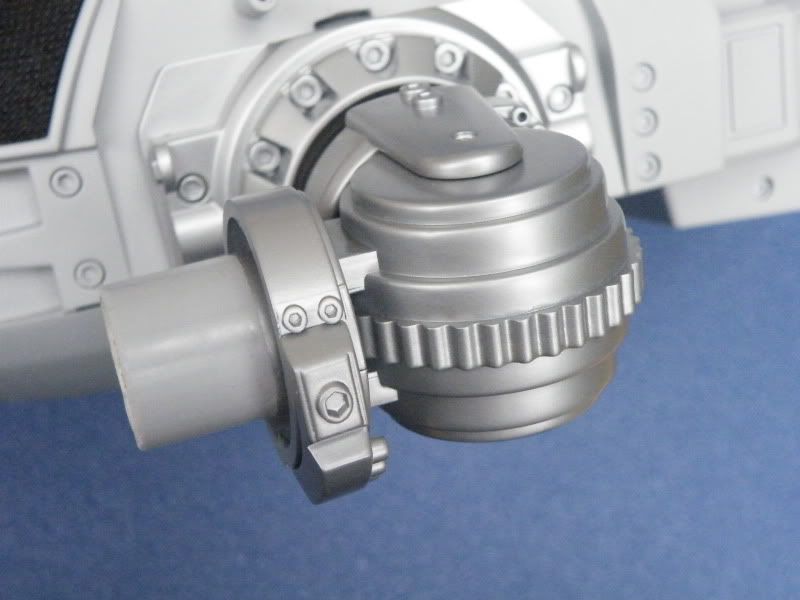
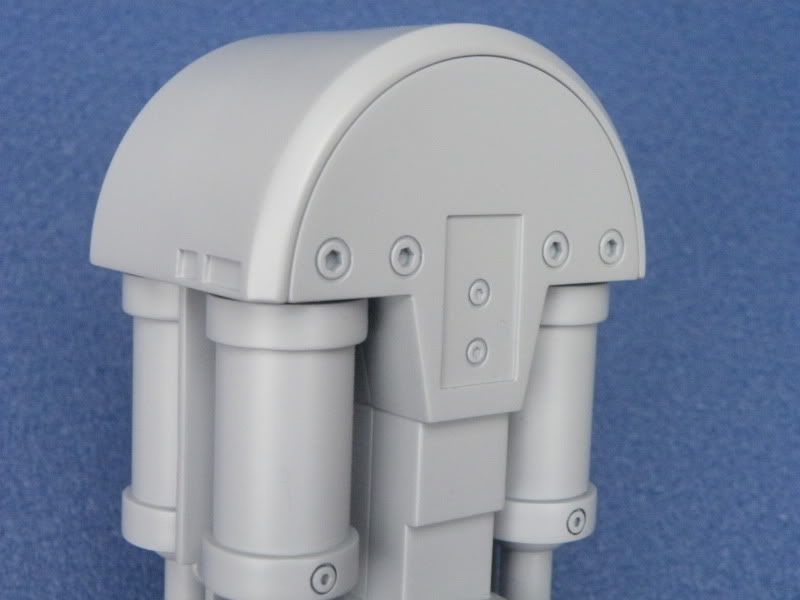
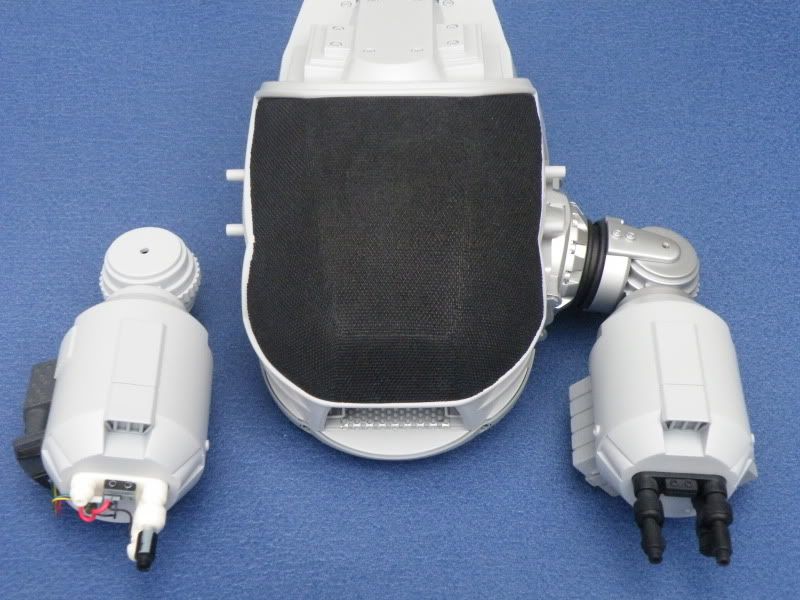
The dome ready for a fiberglass mother mold:


Keith.
keith is offline   Reply With Quote
Old 09-14-2013, 12:01 AM   #4
keith
Fantastic Four
 
keith's Avatar
 
Join Date: Oct 2006
Posts: 84
Here is the new arm casting:


Here is the head with the rubber removed and the plastic under the rubber cut away:


I've cut the mouth out and i'm working on making it deeper:


Some detail started to be added to the deeper mouth:


Here is the casting of the canopy with a quick coat of matt black paint on it. I will probably paint it satin black:


Keith.
keith is offline   Reply With Quote
Old 09-14-2013, 12:02 AM   #5
keith
Fantastic Four
 
keith's Avatar
 
Join Date: Oct 2006
Posts: 84
Here is the new canopy fitted:


The rim which runs around the canopy on the head will be painted black also. Hot toys didn't paint that black for some reason.

The piece of plastic tube fits over the hip joint and makes sure the legs are set in a perfectly symmetrical position and stay there:


This white styrene piece i've made will be molded and 4 casts will be glued together and replace the old rubber hip joint:


Keith.
keith is offline   Reply With Quote
Old 09-14-2013, 12:02 AM   #6
keith
Fantastic Four
 
keith's Avatar
 
Join Date: Oct 2006
Posts: 84
Here is a finished hip joint, made from resin to replace the original rubber ones. This part has been the most time consuming part to make believe it or not:


No more rubber!!! Did i say i hate rubber?:


Here is the gun pod and ammo boxes. I have bolts sticking out of the pod and magnets built into the amo boxes to hold them on:

The detail with the three slots above the bolt head on the pod in the above photo had to be added on this side, as this side was where the rocket launcher was on the pod i molded. I made a partial casting of the pod and cut this section out and glued it on this side.

Ammo boxes fitted:


The hole at the back takes a plastic tube through it which is how its going to be mounted to the arm. You can see how thick the cast pod is by looking at the hole:


Here are the new guns for the left pod. They will have a few wires fitted to them after i've painted them:


Here is the new gun for the left pod. As you can see, i've used two original parts. I still need to add a few bits to this to attach the wires to:


Keith.
keith is offline   Reply With Quote
Old 09-14-2013, 12:03 AM   #7
keith
Fantastic Four
 
keith's Avatar
 
Join Date: Oct 2006
Posts: 84
Some more photos of the new left pod, ammo boxes and guns. Everything here has been reproduced/scratch built:


Please ignore the rain drops:


Keith.
keith is offline   Reply With Quote
Old 09-14-2013, 12:04 AM   #8
keith
Fantastic Four
 
keith's Avatar
 
Join Date: Oct 2006
Posts: 84
Here are the main leg sections in Tamiya Fine Surface Primer:


Note the magnet inside to hold the silver things on to the side of the legs:


Here is one of the silver things (i don't know what to call them) with a magnet inside:


I glued the plastic squares onto the leg so the silver things fit in the correct position with an even gap around them:


I added the grey plastic tube to the fitting for the upper leg section and added some thick plastic sheet with a hole in it inside of the upper leg. It just gives some extra support to the legs and spreads the load out rather than it all being at the front face of the upper leg:


The leg tops just push into place and are a nice tight fit:


Here is the canopy with magnets fitted:


Here you can see the bolts that the magnets in the canopy stick to:


Keith.
keith is offline   Reply With Quote
Old 09-14-2013, 12:04 AM   #9
keith
Fantastic Four
 
keith's Avatar
 
Join Date: Oct 2006
Posts: 84
Some parts painted in Tamiya Bare Metal Silver. Note the tube that the new pod fits on to:


The new pod push fits in place:


Here you can see the resin arm joint i made to replace the rubber (the black part):


The deeper more detailed mouth:


The new resin neck painted black:


Upper leg section in primer. There are 8 parts to each upper leg section and every part was primed separately. Its just been push fitted together here for the photos:


Keith.
keith is offline   Reply With Quote
Old 09-14-2013, 12:05 AM   #10
keith
Fantastic Four
 
keith's Avatar
 
Join Date: Oct 2006
Posts: 84
The new resin hip joints in final black paint:


Some toes:


Some test fitting of the wires on the right pod. The red wire is still a little too long here:


Keith.
keith is offline   Reply With Quote
Reply


Posting Rules
You may not post new threads
You may not post replies
You may not post attachments
You may not edit your posts

BB code is On
Smilies are On
[IMG] code is On
HTML code is Off

Forum Jump

Powered by vBadvanced CMPS

All times are GMT -4. The time now is 03:24 PM.


Powered by vBulletin®
Copyright ©2000 - 2024, Jelsoft Enterprises Ltd.
Copyright StatueForum.com